7 Tips to Fix Zigbee Connectivity Issues Without Replacing Hardware
USB 3.0 interference is silently breaking your Zigbee network. Here's how to fix it for dollars.
 By Ava Herrera
Updated October 16, 2026
By Ava Herrera
Updated October 16, 2026

A flaky Zigbee network is one of the most frustrating aspects of building a smart home. Your door sensors report unavailable, buttons stop responding, and motion triggers take forever to fire even though your mesh network looks solid on paper. Before you assume your devices are defective or blame poor routing, consider an invisible culprit: electromagnetic interference from your computer hardware.
Understanding the Invisible Interference Problem
The challenge lies in the 2.4GHz spectrum, where Zigbee, Wi-Fi, and Bluetooth all operate. When you plug a Zigbee coordinator directly into a modern computer such as a mini PC, Raspberry Pi, or server, you’re exposing it to significant electromagnetic noise. USB 3.0 ports emit broadband noise right in the 2.4GHz band, and poorly shielded or grounded USB 3.0 connections make this problem worse. This radiation essentially deafens your coordinator’s receiver, drowning out weak signals from distant sensors.
Tip 1: Move Your Coordinator Away From the Computer
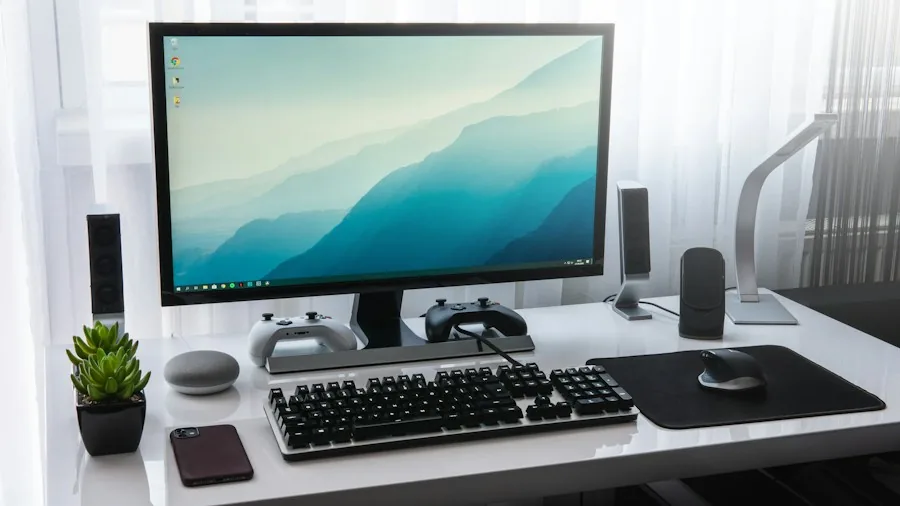
The simplest solution costs just a few dollars: use a USB extension cable to physically separate your Zigbee coordinator from your computer hardware. Moving the dongle just three feet away places it outside the immediate high-intensity electromagnetic field generated by USB 3.0 ports and internal power supplies. This spatial isolation dramatically improves signal reception without any software reconfiguration.
Tip 2: Choose a USB 2.0 Extension Cable
Not all extension cables are created equal. Always select a USB 2.0 extension cable or plug into a USB 2.0 port if available. USB 3.0 cables contain extra high-speed data pairs that can radiate additional noise if poorly shielded. A standard USB 2.0 extension cable lacks these high-frequency data lines while providing plenty of bandwidth for your Zigbee radio. This simple choice makes a measurable difference in network reliability.
Tip 3: Keep Your Coordinator Away From Wi-Fi Hardware
Repositioning your coordinator also helps you avoid secondary interference sources. Wi-Fi access points operating on overlapping 2.4GHz channels create additional noise that degrades Zigbee performance. If your Wi-Fi router or mesh node operates on channels 1, 6, or 11, and your Zigbee uses channels 11, 15, 20, or 25, channel overlap becomes a real problem. Position your coordinator far enough from both your computer and your Wi-Fi hardware to minimize this interference.
Tip 4: Implement Channel Coordination Between Protocols
Work with your router and Zigbee network settings to establish peaceful coexistence. Configure your home Wi-Fi to use a fixed 20MHz channel width on 2.4GHz, then pin your Zigbee network to a non-overlapping channel such as 15, 20, or 25. Even though both protocols share the 2.4GHz spectrum, using different channel widths keeps them separated and reduces interference significantly. This coordinated approach solves connectivity issues without hardware replacement, making it ideal if you’re considering smart locks and other connected devices.
Tip 5: Audit Your Entire 2.4GHz Environment
Beyond computers and routers, identify all 2.4GHz devices in your home. Cordless phones, microwave ovens, baby monitors, and other wireless devices all operate in this crowded spectrum. Map out where these devices are located and position your Zigbee coordinator in a zone with minimal interference from all of them. This comprehensive approach prevents unexpected performance degradation as you add more connected devices to your smart home.
Tip 6: Avoid Rushing Into Expensive Upgrades
The temptation to buy a more expensive Zigbee dongle or perform a complete hardware reset can be strong when your network fails. However, physics often trumps expensive hardware. Before investing in new equipment, exhaust the low-cost solutions: move your coordinator and adjust channel assignments. You might find that your existing hardware works perfectly once electromagnetic interference is eliminated. This approach saves money and troubleshooting time, which is especially valuable when managing affordable smart home security options across multiple rooms.
Tip 7: Test Your Network After Each Adjustment
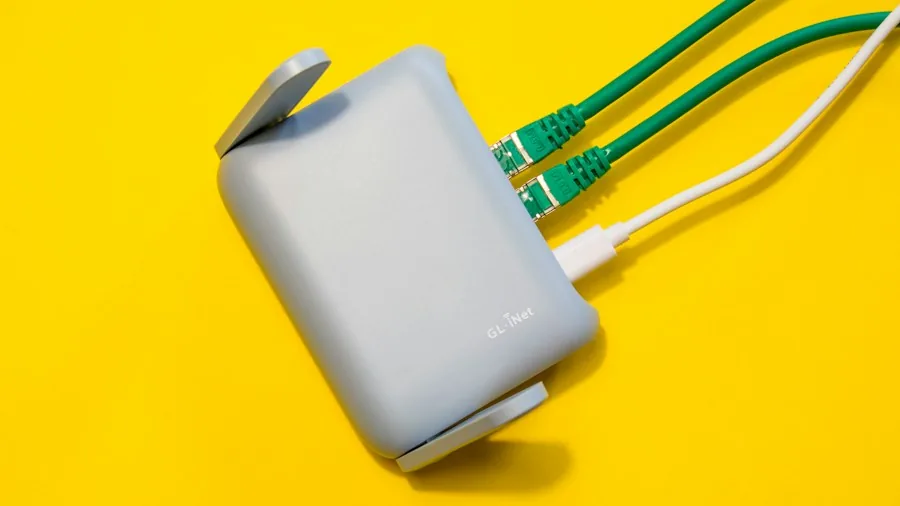
After repositioning your coordinator or adjusting Wi-Fi channels, observe how your sensors and smart devices respond. Responsive buttons, reliable door sensors, and quick motion triggers indicate success. Give your network time to stabilize after changes, as devices sometimes need a few minutes to reconnect and optimize their routes. Document which adjustments worked best so you can replicate the setup if you move or expand your smart home system.
The Physics Behind the Solution
Many smart home enthusiasts overcomplicate troubleshooting by rewriting configurations, chasing firmware updates, or replacing hardware unnecessarily. Often the real bottleneck is simply physics. Electromagnetic radiation from USB 3.0 ports and channel overlap from Wi-Fi create measurable performance degradation that no amount of software tweaking can overcome. By addressing the physical environment first, you eliminate the root cause rather than treating symptoms. This is why basic repositioning frequently outperforms expensive hardware swaps and why door-specific smart locks often work better once your Zigbee mesh is optimized.
The next time your Zigbee network acts up, resist the urge to replace devices. Instead, grab an inexpensive USB 2.0 extension cable, move your coordinator away from your computer, and reposition it away from Wi-Fi hardware. This straightforward physical approach can resurrect flaky sensors and restore reliability to your entire smart home system without breaking your budget or wasting hours on complex troubleshooting.
About the author
Ava is REMOVU's laptop writer, balancing speed, battery life, and build quality against price across the whole range. She helps readers find the sweet spot as each new chip shifts what a dollar buys.