7 Ways to Change Your Windows Network Name for Better Organization
Stop struggling with generic Network 1 and Network 2 labels. Here are multiple straightforward methods.
 By Ava Herrera
Updated August 24, 2026
By Ava Herrera
Updated August 24, 2026
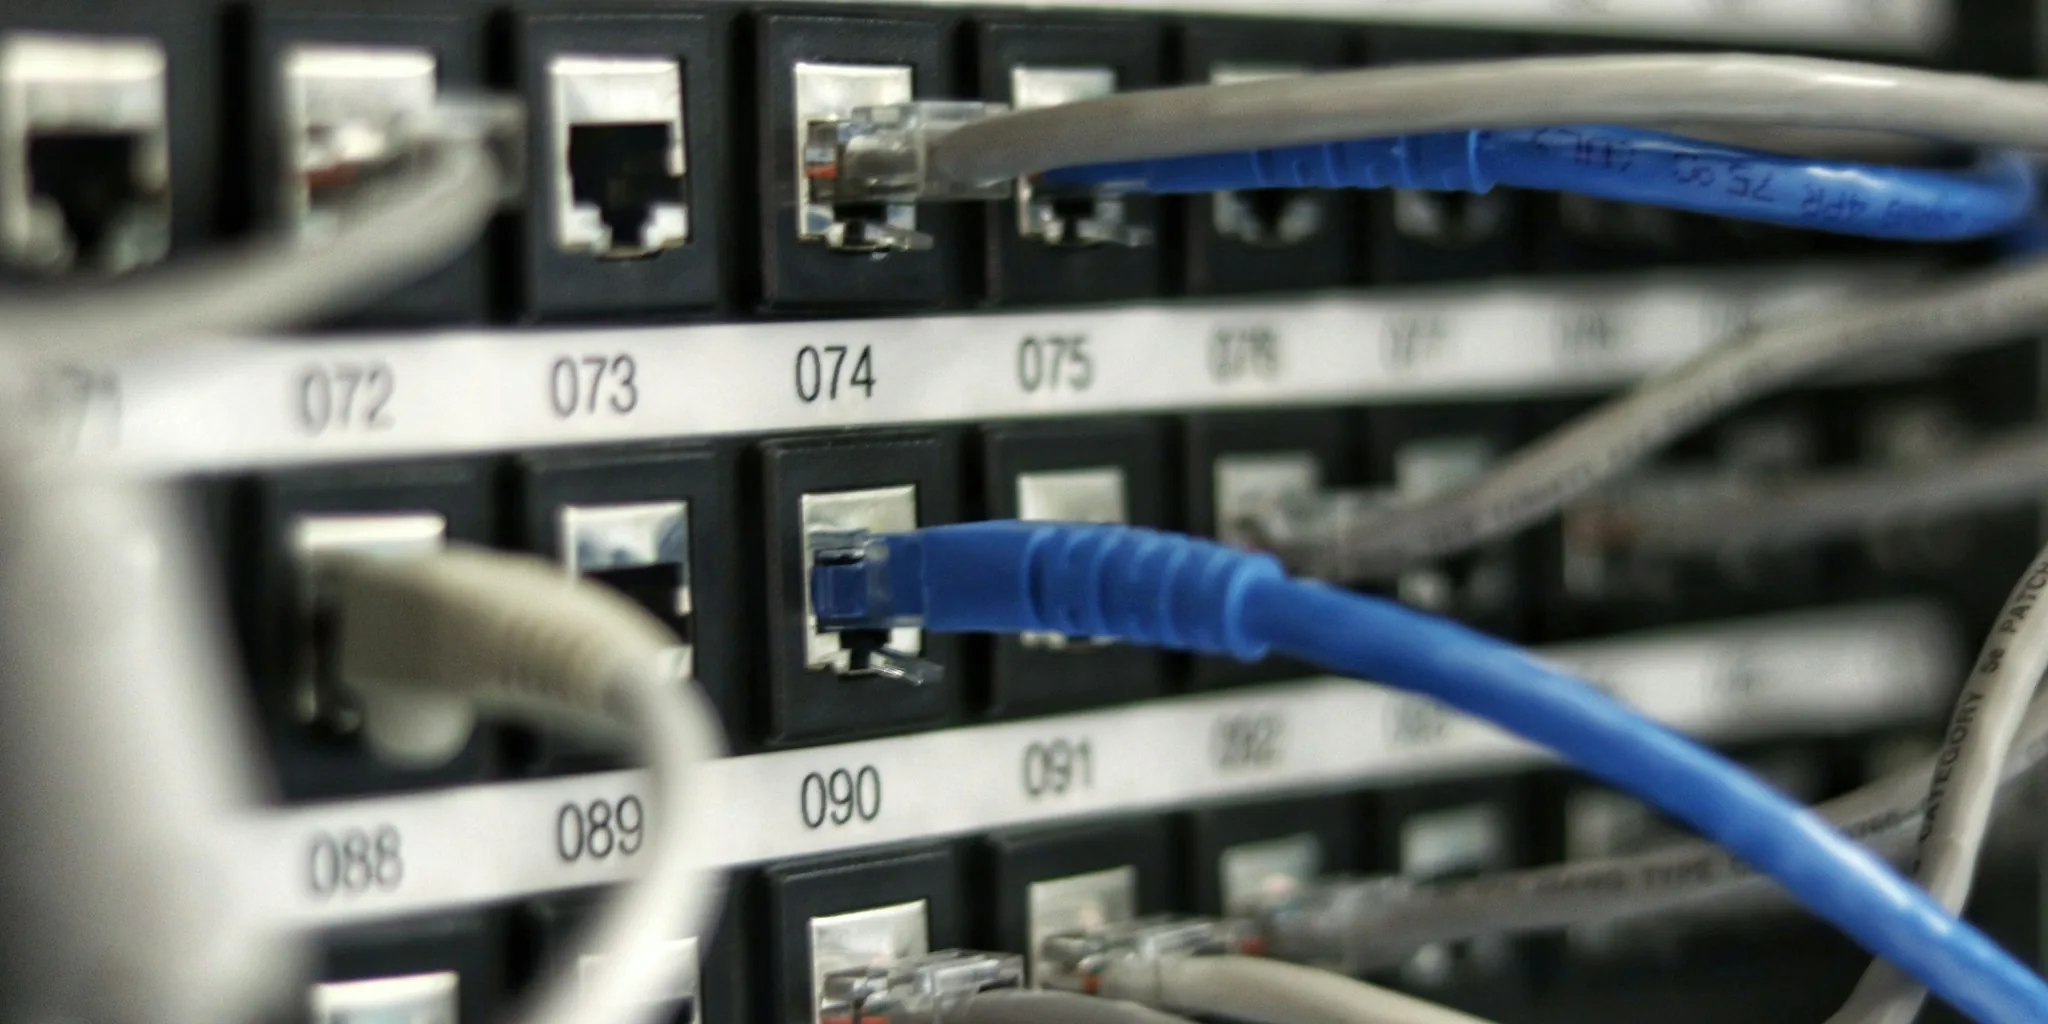
When you first connect to a network on your Windows PC, the operating system automatically creates a network profile and assigns it a default name. For wired Ethernet connections, Windows typically labels them as Network 1, Network 2, and so on. For wireless connections, it uses the network’s SSID as the profile name. Over time, as you connect to multiple networks at home, work, or while traveling, these generic names become harder to distinguish from one another.
Renaming your network profiles makes it much easier to identify which network you’re connecting to, especially if you have several stored on your computer. Unfortunately, Windows doesn’t provide a straightforward settings option for this task, but there are multiple practical approaches you can use to customize your network names.
Method 1: Use the Registry Editor for Direct Control
The Registry Editor offers direct access to your network profile names, though it requires some navigation. Open the Registry Editor by clicking the search box on your taskbar, typing regedit, and pressing Enter. Navigate to the following path: HKEY_LOCAL_MACHINE SOFTWARE Microsoft WindowsNT CurrentVersion NetworkList Profiles.
You’ll see multiple subfolders with names containing curly brackets and long strings of letters and numbers. Each subfolder represents a network profile your computer has connected to at any point. Windows maintains a record of every network profile ever created on your system, so you may see profiles from networks you no longer use. Examine each folder by clicking on it, then look for the entry labeled ProfileName in the right-hand pane. Double-click ProfileName, enter your desired name in the text field, click OK, and restart Windows to apply the change.
Method 2: Leverage Local Security Policy (Windows Pro and Enterprise Only)
If you’re running Windows Professional, Enterprise, or Education edition, you have access to the Local Security Policy tool, which provides a more user-friendly interface. Press Windows-R to open the Run dialog, type secpol.msc, and press Enter. In the Local Security Policy window that opens, select Network List Manager Policies from the left pane. Your network profiles will appear in the right pane. Double-click the profile you want to rename, locate the Network Name tab in the Properties window, click the Name field, enter your new profile name, click OK, and restart Windows.
Method 3: Download a Free Utility for Simplicity
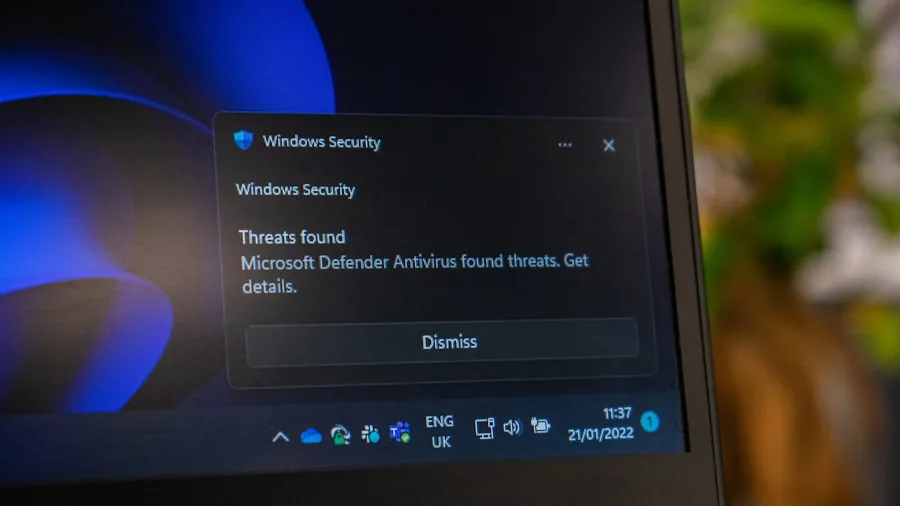
If you prefer a more straightforward approach without navigating system settings, the Network Profile Name Changer utility eliminates much of the complexity. This free tool requires no installation. Download the ZIP file, extract it to any folder on your computer, and launch it by double-clicking Net Pnc.exe. You may receive a Windows security warning; click More Information and then Run Anyway to proceed. The utility displays all your network profiles in a simple list format. Select the profile you wish to rename and click the Rename button, then enter your new name.
Method 4: Consider Your Naming Strategy
Before you start renaming profiles, develop a consistent naming convention. Use descriptive names that clearly indicate the network’s location or purpose: Home Network, Office Guest Network, or Coffee Shop. Avoid generic terms like Network 1 or Profile A, which defeat the purpose of renaming entirely. Include location details if you frequently connect to multiple networks in different places, such as Home 2.4GHz or Office 5GHz.
Method 5: Organize Profiles by Priority
If you’re researching ways to optimize your mobile setup while traveling, clear network names become especially valuable. Prioritize naming the networks you use most frequently first. Your primary home network should be immediately recognizable, followed by work networks, and then occasional connections like guest networks or public hotspots. This ordering helps you quickly identify your preferred network when multiple options appear on your available networks list.
Method 6: Update Names When Network Changes Occur
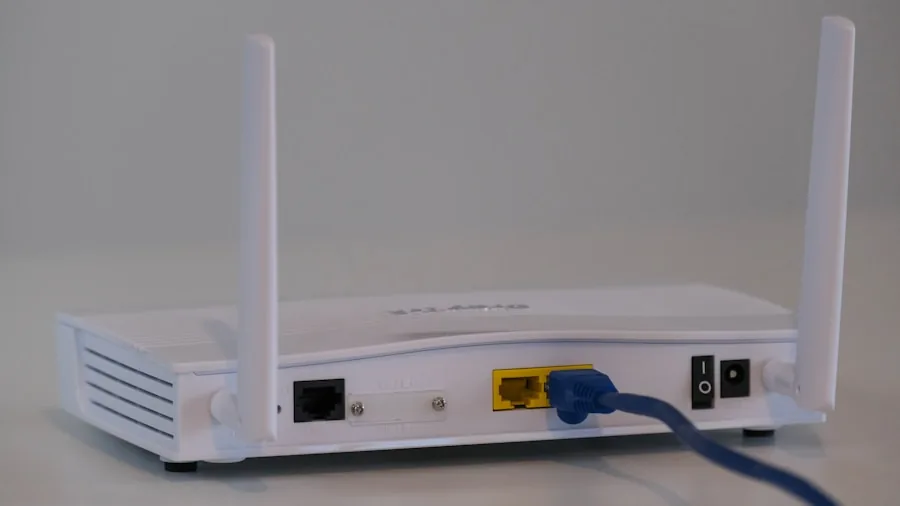
When you upgrade your router, change internet providers, or establish new office connections, update your profile names to reflect these changes. Remove profiles from networks you no longer use. This maintenance keeps your network list clean and prevents confusion between old and new connections. Additionally, if you use smart home devices that connect to specific networks, naming them precisely helps you monitor which devices connect where.
Method 7: Back Up Your Network Settings
Before making extensive changes to your network profiles, export your Registry or document your current settings as a backup. This precaution ensures you can restore your configuration if something goes wrong during the renaming process. After successfully renaming your profiles, create a simple text file listing your network names and what they represent. This reference document becomes invaluable when troubleshooting connection issues or setting up new devices on your networks. For anyone managing multiple devices across various networks, this documentation practice prevents confusion and streamlines your entire digital workspace setup.
Renaming your network profiles takes just minutes but significantly improves your ability to manage and identify your connections. Choose the method that best fits your comfort level with Windows tools, and you’ll immediately notice the convenience of descriptive network names in your available networks list.
About the author
Ava is REMOVU's laptop writer, balancing speed, battery life, and build quality against price across the whole range. She helps readers find the sweet spot as each new chip shifts what a dollar buys.