How to Manage iPad Notifications: 3 Settings You Should Change Now
Stop the notification avalanche with Scheduled Summary, Alerts, and Count settings.
 By Yolanda Carroll
Updated November 17, 2026
Stop the Notification Overload Before It Starts
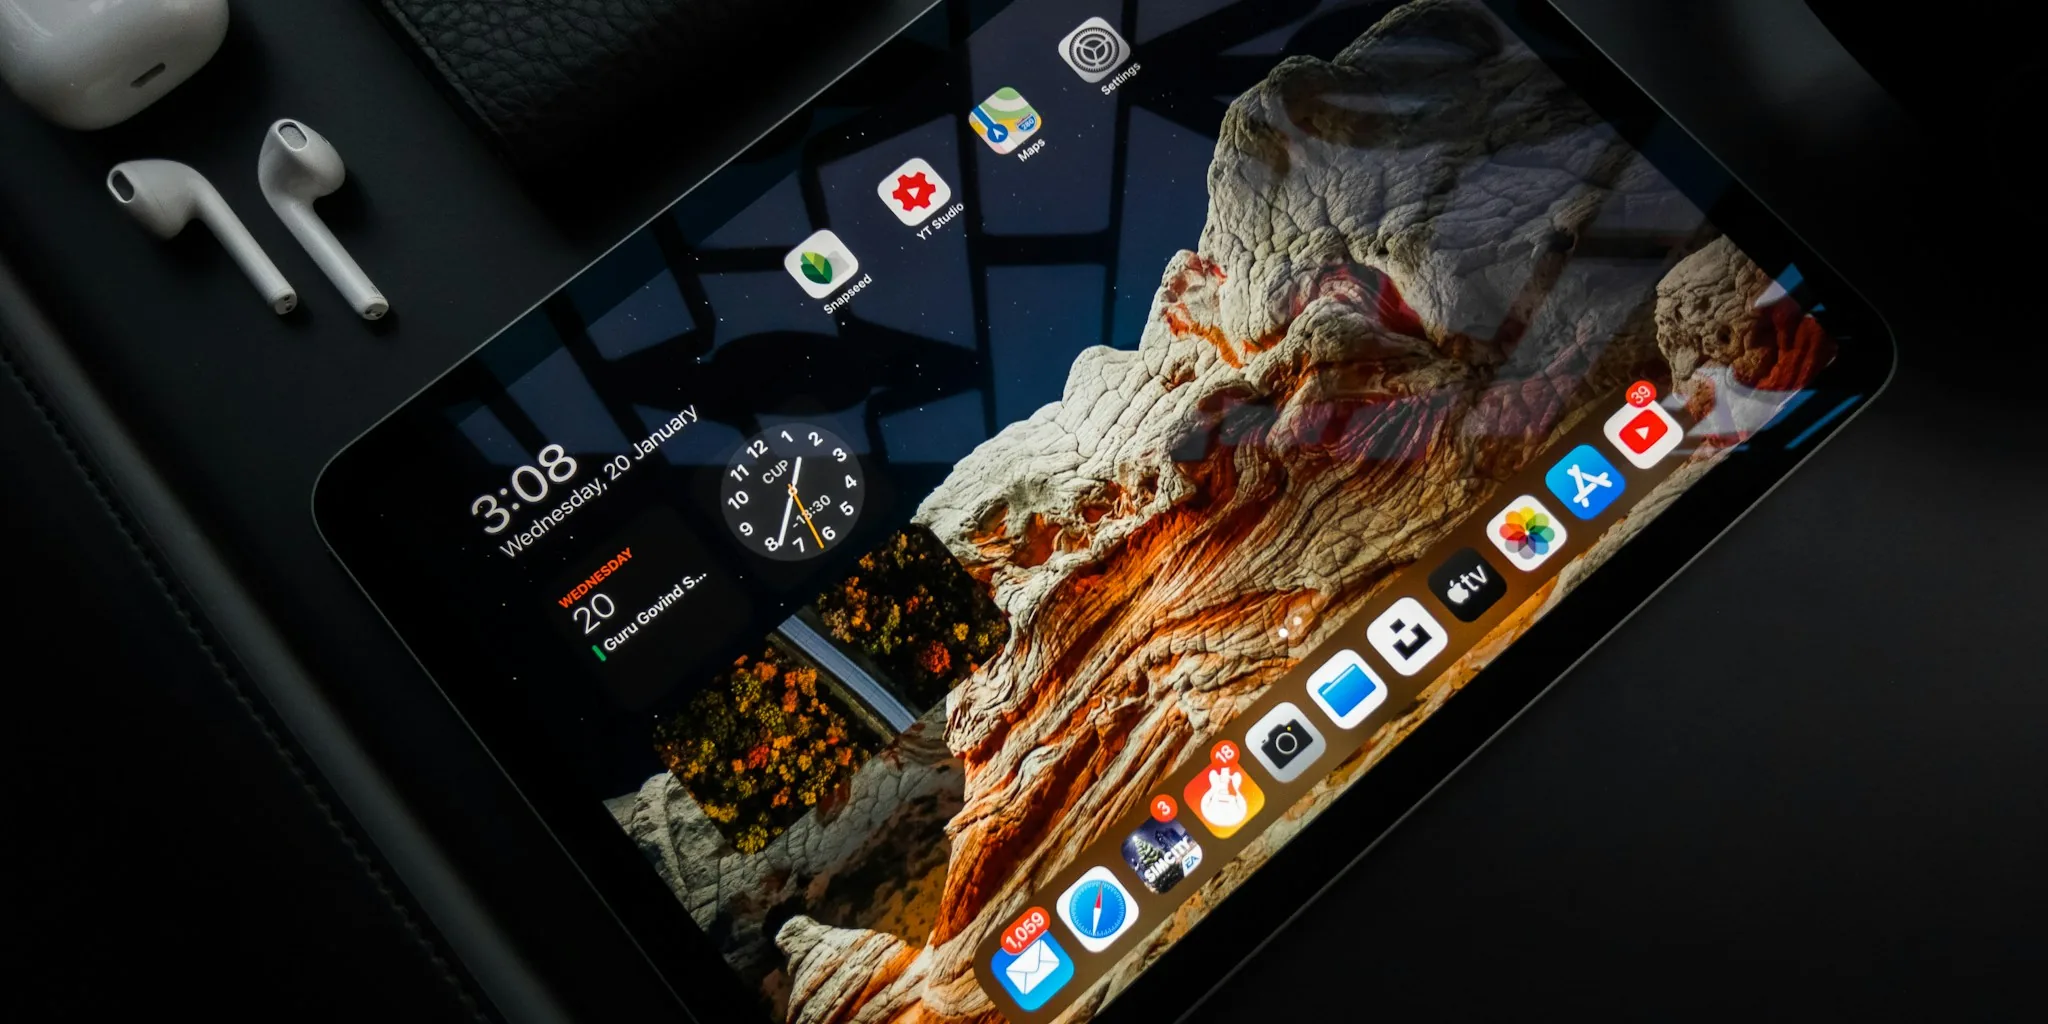
Your iPad’s lock screen shouldn’t feel like an avalanche of alerts every time you glance at it. When notifications pile up from emails, subscriptions, messaging apps, and countless other sources, your device stops being helpful and becomes a source of stress. The good news: you don’t need to silence your entire iPad or turn off notifications completely. Instead, three specific settings let you regain control over when alerts arrive and how they appear on your lock screen.
Use Scheduled Summary to Batch Notifications by Time

One of the most effective ways to reduce lock screen clutter is scheduling when certain notifications arrive. Scheduled Summary groups notifications from apps you select and delivers them all at once at a time you choose. Rather than getting interrupted throughout the day, you decide the schedule that works for your workflow.
To set this up, go to Settings > Notifications > Scheduled Summary. Select the apps you want included in the summary and choose how many times daily you’d like to see them. For example, you might want email and news notifications bundled at 1 p.m., after your morning focus time ends. Apps you don’t add to Scheduled Summary continue delivering alerts normally.
One important detail: if an app marks a notification as Time Sensitive, it bypasses the schedule and arrives immediately. This ensures you won’t miss truly urgent messages. If a particular app keeps breaking through with Time Sensitive alerts you don’t need, you can disable this by going to Settings > Notifications > (app name) and turning off Time Sensitive Notifications.
Use Alerts to Keep Your Lock Screen Clear
Not every notification deserves to live on your lock screen where it demands your attention. Alerts let you choose which apps show notifications directly on your lock screen and which ones only appear in your Notification Center for later review. You still receive those notifications, but they don’t interrupt your current focus.
Navigate to Settings > Notifications > (app name) to adjust this per app. Under the Alerts section, uncheck “Lock Screen” while keeping “Notification Center” checked. This way, messages from people matter most, like family or close friends, can stay visible on your lock screen, while less urgent apps fade into the background.
When you do see a less important notification on your lock screen and want quick relief, don’t dig through settings. Simply swipe left on the notification until you see Options > View Settings. From there, you can Mute for 1 Hour or Mute for Today to send that app’s alerts directly to the Notification Center.
Switch to Count Display Mode for a Numbers Game
When you have dozens of pending notifications, displaying each one on your lock screen defeats the purpose of keeping things organized. Count mode shows only a number at the bottom of your lock screen instead of listing every single alert. You still know how many notifications await you without visual overwhelm, and all notifications remain intact when you tap the count to review them.
To enable this feature, open Settings > Notifications and look for the “Display As” option. Tap “Count” to switch from your current view mode. If you later prefer seeing your notifications as a Stack or List, you can easily switch back anytime. This simple change alone can transform a chaotic lock screen into a clean, minimal display.
When to Use Do Not Disturb (And When Not To)
Do Not Disturb might seem like the easiest solution, since toggling one button silences everything. However, it’s better viewed as a temporary tool rather than a permanent solution to notification management. When activated, Do Not Disturb mutes calls, alerts, and notifications completely. You’ll see a moon icon in your status bar to confirm it’s on.
The strength of Do Not Disturb lies in its timer function. You can set it for one hour of quiet time and forget about manually turning it off. If you need notifications from specific people or apps even while Do Not Disturb is on, go to Settings > Focus > Do Not Disturb, then tap People or Apps to whitelist contacts or applications.
However, relying solely on Do Not Disturb means you’re either getting all notifications or none. It doesn’t solve the core problem of notification management. Using it daily just to manage a crowded lock screen isn’t sustainable. The best way forward combines all three settings for genuine, lasting control.
Build Your Ideal Notification System
Rather than crushing all notifications into silence, pair Scheduled Summary, Alerts, and Count into a personalized system. Email and news apps go into your 1 p.m. summary. Important messages stay on your lock screen as individual alerts. Everything else condenses into a simple count at the bottom. After a week of using this combination, your lock screen transforms from an anxiety trigger into a calm, organized space.
The beauty of these settings is their flexibility. You control exactly which apps interrupt you, when they deliver notifications, and how they appear. Your iPad becomes a tool that respects your attention rather than constantly demanding it. By adjusting these three settings, you reclaim your lock screen and your peace of mind.
About the author
Yolanda covers tablets for REMOVU, weighing performance, display, and value across iPad and Android options. She helps readers pick a tablet that fits couch time or real work.