7 Router Settings You Should Change Right Now for Better Security
Most routers ship with vulnerable default settings. Here's what you should change immediately.
 By Armando Washington
Updated November 16, 2026
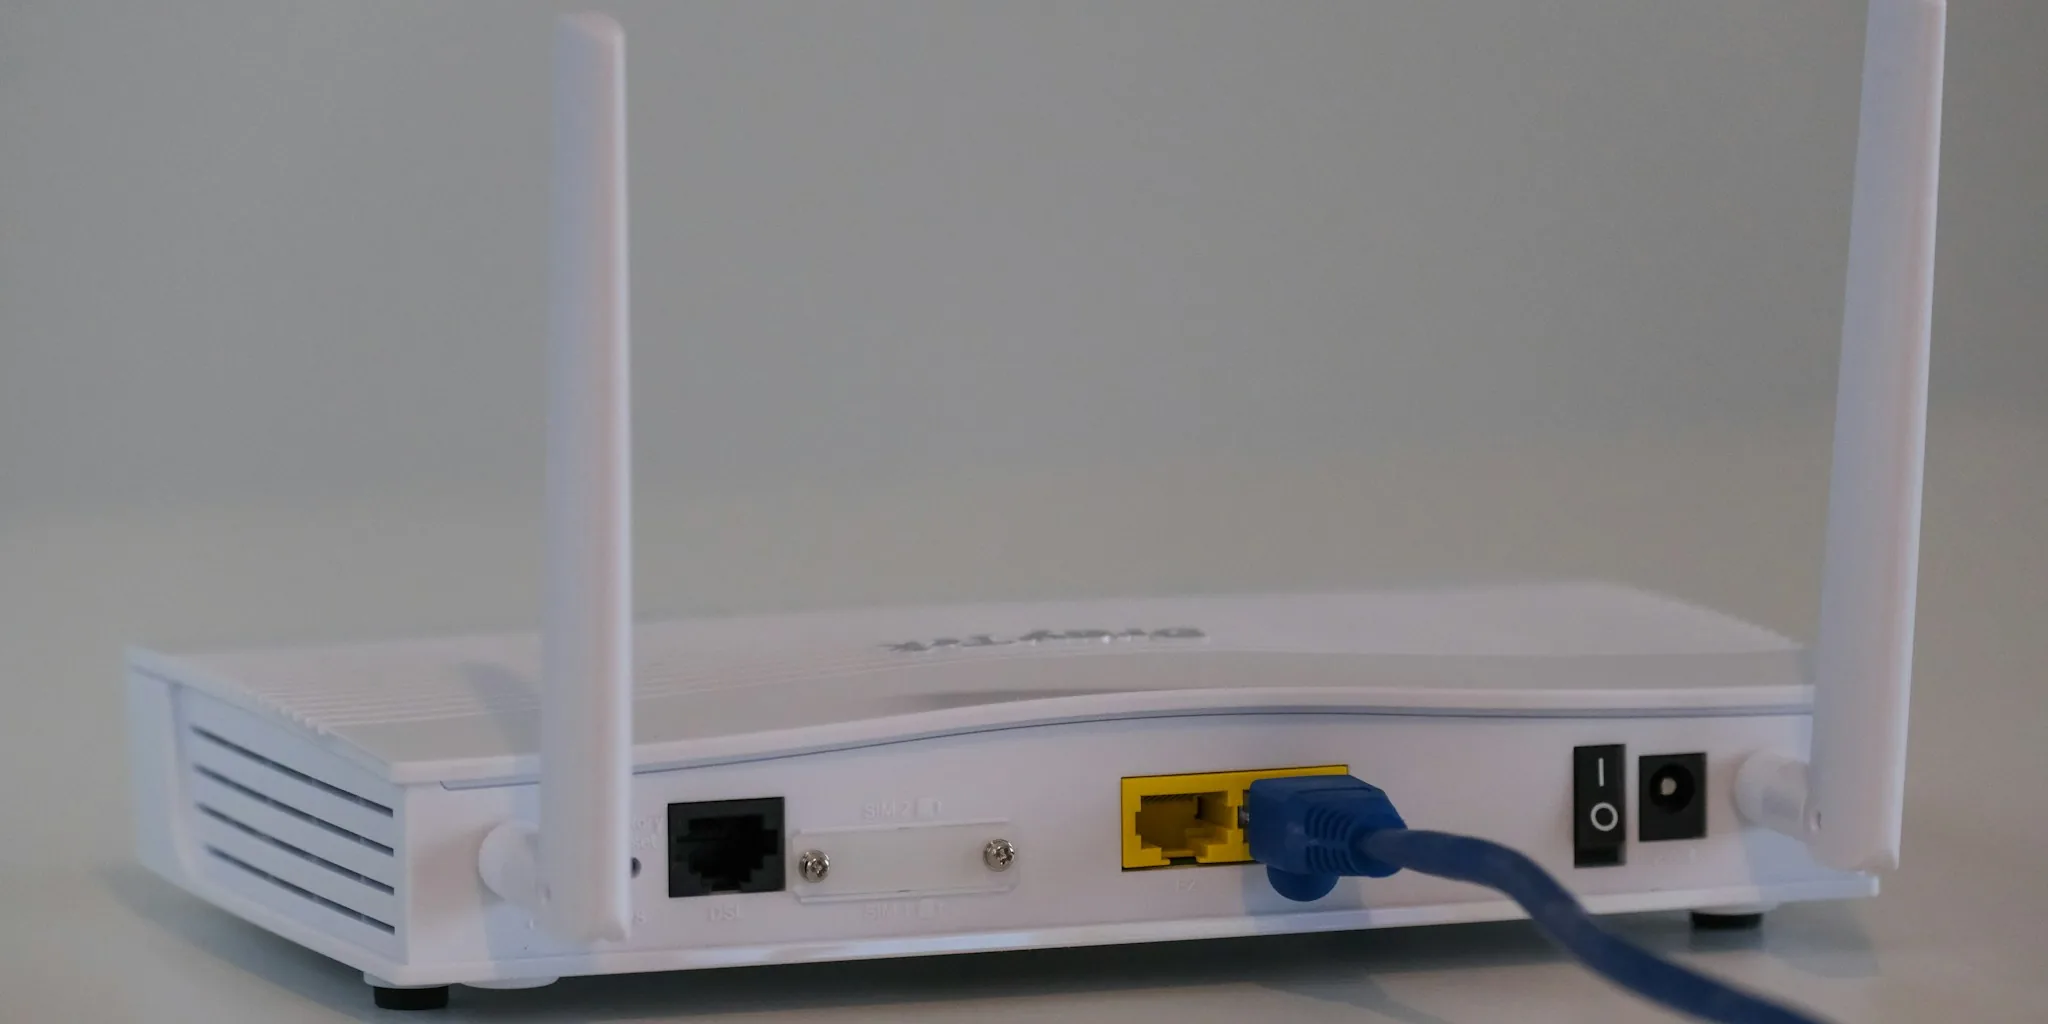
Your router is the gateway to your entire home network, connecting every device from your smartphone to your smart home devices to the internet. Because of this central role, routers are prime targets for cyberattacks. Unfortunately, many people leave their routers running with factory default settings, which creates serious security vulnerabilities. By adjusting a handful of key configurations, you can dramatically improve your network’s protection and keep your personal data safer.
1. Upgrade Your Security Protocol to WPA3
The security protocol your router uses determines how data gets encrypted and authenticated as it travels across your network. Most modern routers support WPA3 Personal, which is the latest and most secure standard available. If your router offers WPA3, enable it immediately. This protocol works best with Wi-Fi 6 devices, so compatibility is typically excellent with newer equipment.
If you have older devices that don’t support WPA3, switch to WPA2/WPA3 Transitional mode as a compromise solution. At the absolute minimum, your router should run WPA2 Personal with AES encryption. Never use WEP or outdated protocols, as they can be compromised relatively easily.
2. Change Default Admin Credentials and Add Two-Factor Authentication
Routers ship with default login credentials that allow you to access the admin dashboard and modify settings. The problem is that these default usernames and passwords are publicly available online. Anyone who knows them can log into your router and change your configurations or steal data.
During your initial setup, replace those default credentials with a unique username and password. Make your admin password strong and unrelated to other passwords you use. Many newer routers also offer two-factor authentication for the admin account. Enable this feature if available, as it adds an extra layer of protection even if someone discovers your admin password.
3. Customize Your Network Name
Your network name, technically called the SSID, is what appears when you search for available Wi-Fi networks. By default, manufacturers set this to their company name or a generic string of characters. Create a custom SSID that’s unique to your household but doesn’t reveal personal information like your surname or house number.
Contrary to popular belief, hiding your SSID by broadcasting it invisibly actually weakens security rather than strengthening it. Leave your SSID visible. However, you can add ‘_nomap’ to the end of your network name to prevent location services from pinpointing your router’s physical location.
4. Create a Strong, Unique Wi-Fi Password
Your Wi-Fi password should be robust and completely different from your admin credentials. A practical approach is building a passphrase from five to seven unrelated words combined together, ensuring at least 16 characters total. For example, ‘BluePencilMountainCoffeeFish42’ is both memorable and secure.
Avoid dictionary words, birthdates, addresses, or any personal information that someone could guess or find about you. Write down your password somewhere safe offline in case you need it later.
5. Turn Off Remote Management
Many routers offer the ability to log into your admin dashboard from anywhere on the internet. While this might seem convenient if you need to troubleshoot network issues away from home, it creates a dangerous entry point for attackers. Disable remote management access entirely.
With remote management turned off, only devices physically on your home network can access the admin dashboard. Combined with strong admin credentials, this significantly reduces the risk of unauthorized access.
6. Disable WPS and UPnP Features
Wi-Fi Protected Setup (WPS) allows users to connect to your network using a PIN code instead of typing the full password. Unfortunately, this PIN is vulnerable to brute-force attacks where hackers try thousands of combinations rapidly. Disable WPS completely.
Similarly, Universal Plug and Play (UPnP) lets devices automatically connect to your network without manual configuration. While convenient for smart devices, UPnP also allows malware to spread more easily if one device becomes compromised. You may need UPnP on initially to connect new gadgets, but turn it off afterward.
7. Set Up Separate Networks for Guests and Smart Devices

Network segmentation is one of the simplest security upgrades available. When you divide your network into separate segments, compromising one segment doesn’t automatically expose all your data. Most modern routers include a guest mode feature that creates a separate Wi-Fi network with its own password.
Use guest mode for visitors instead of sharing your primary network credentials. Additionally, establish a dedicated network exclusively for smart home devices and Internet of Things gadgets. This isolation prevents vulnerabilities in cheaper IoT devices from affecting your computers and smartphones.
Bonus: Enable Automatic Firmware Updates
Your router runs firmware, which is software that controls all its core functions. Manufacturers regularly release firmware updates to patch security vulnerabilities. Check your router’s admin dashboard to confirm automatic updates are enabled. Some newer equipment requires opting in during initial setup, so verify this setting is switched on.
If your router doesn’t support automatic updates, set a calendar reminder to manually check for new firmware at least quarterly. Keeping firmware current is essential for maintaining security over time.
Taking time to configure these settings takes less than an hour but provides substantial protection for your household network and all connected devices.
About the author
Armando covers Wi-Fi routers for REMOVU, balancing speed, range, and features for homes of every size. He helps readers match a router to their space and their devices.