7 Tips for Expanding Your PlayStation 5 Storage With an M.2 SSD
Learn how to add an M.2 SSD to your PS5 and double your gaming storage capacity.
 By Serenity Richards
Updated November 11, 2026

The PlayStation 5 comes with impressive built-in storage, but it fills up fast. The PS5 Slim offers 1TB of total capacity, though only 848GB is available for games. The original model has even less usable space at 667GB. When massive titles like Grand Theft Auto 6 demand 212GB alone, you’ll quickly run out of room. Fortunately, the PS5 features an expansion slot designed specifically for M.2 NVMe SSDs, letting you dramatically increase your storage while maintaining the console’s speed. Here are seven essential tips to successfully expand your PlayStation storage.
1. Verify Your SSD Meets PlayStation Requirements
Not every M.2 SSD will work with your PlayStation. Sony has established specific technical requirements your drive must meet. Your SSD must support PCIe Gen4x4 technology and use Socket 3 (Key M) configuration. Storage capacity should range from 250GB to 4TB, and physical dimensions matter significantly. The drive must be 30mm to 110mm in length, no wider than 25mm, and thinner than 11.25mm overall, with less than 8mm protruding above the circuit board. Most critically, your SSD needs a sequential read speed of at least 5,500Mbps. Many drives on the market fall short of this speed requirement, so always verify specifications before purchasing. Take time to compare different models and review their published performance metrics to ensure compatibility.
2. Gather Your Tools Before Starting
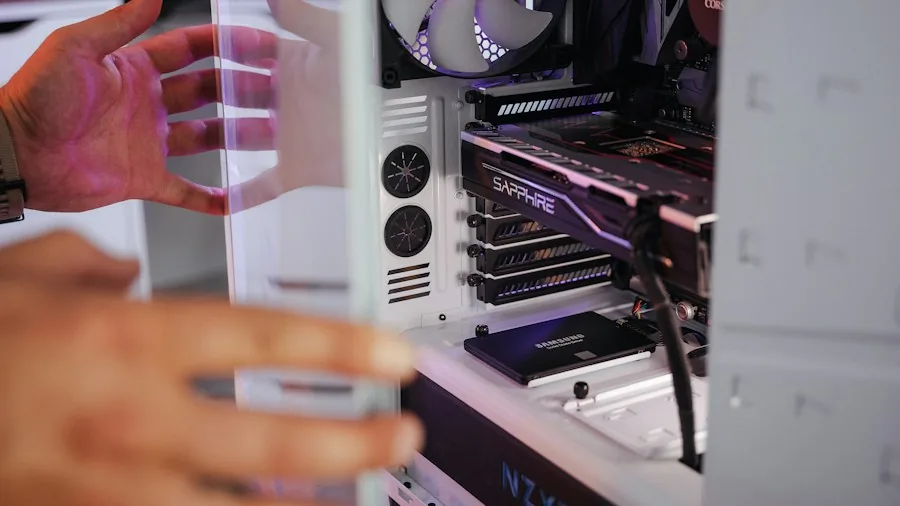
The installation process requires minimal equipment. You’ll need only a Phillips head screwdriver and tweezers. That’s genuinely all you need to complete the entire upgrade. Having tweezers available makes handling the tiny spacer component significantly easier than using your fingers. Before beginning, clear a flat, clean workspace where you can safely disassemble and reassemble your console without losing small components.
3. Install a Heatsink if Your Drive Lacks One
Check whether your M.2 SSD already includes a heatsink. If it does, you can proceed to the next step. If not, purchase a compatible heatsink designed for your specific drive size and follow the manufacturer’s installation instructions. Most heatsinks attach using adhesive thermal pads. Carefully peel away the protective backing and press the heatsink firmly onto the SSD’s surface. Proper heatsink installation helps maintain optimal performance during extended gaming sessions.
4. Power Down Your Console Properly
Always perform a complete system shutdown before opening your PlayStation. Simply pressing the power button places the console into rest mode rather than shutting it down completely. Disconnecting power from rest mode can corrupt the sleep state and trigger error messages when you restart. Instead, press the PlayStation button on your controller, select the Power icon, and choose Power Off. Wait until all console lights extinguish before unplugging the system.
5. Position Your PlayStation Correctly
Lay your console flat on your workspace with the PlayStation logo facing downward and all ports facing toward you. This orientation provides optimal access to the side panel you’ll need to remove. Proper positioning makes the entire process more comfortable and reduces the risk of accidentally damaging internal components or connectors.
6. Carefully Remove the Side Panel

The white side panel removal ranks among the trickiest steps in this process. Rather than pulling straight up, you need to slide the panel leftward. Grip the upper-left corner and lower-right corner firmly. Gently lift the lower-right corner while simultaneously pushing the panel left with steady, controlled pressure. The panel is secured by sideways hooks that click out as you slide left. If resistance occurs, adjust your angle slightly and try again. Patience and correct technique matter more than force.
7. Follow the Installation Sequence Carefully
Once the side panel is open, remove the single screw securing the expansion slot cover. Use tweezers to relocate the small spacer ring to the hole corresponding to your SSD’s length. Insert your drive with the heatsink facing upward and connection points facing left. The SSD should spring slightly upward when inserted correctly. Press down on the right edge to secure it against the spacer, then install the M.2 screw. Replace the expansion slot cover and reattach the side panel by sliding it from left to right until it clicks into place.
When you power on your PlayStation, the system will automatically detect the new drive and prompt you to format it. Accept the formatting request, and after a few minutes, your console will run a speed verification to confirm your drive meets the 5,500Mbps minimum requirement. PlayStation consoles are designed to work seamlessly with compatible M.2 SSDs, and once formatted, your new storage will function identically to the internal drive.
Expanding your storage with a compatible SSD means you’ll never again need to delete games to make room for new titles. With proper planning and attention to technical specifications, you can complete this upgrade in under thirty minutes and immediately enjoy vastly increased storage capacity for your gaming library.
About the author
Serenity covers home game consoles for REMOVU, weighing performance, exclusive libraries, and the ecosystem each platform locks you into. She helps players pick the console that fits how and what they play.