7 Tips for Installing an SSD in Your PlayStation 5
Expand your PlayStation 5 storage safely. Follow these seven expert tips for a flawless SSD upgrade.
 By Serenity Richards
Updated September 3, 2026
By Serenity Richards
Updated September 3, 2026
Your PlayStation 5’s internal storage fills up faster than you might expect. Modern AAA games demand massive amounts of space, and with physical game discs being phased out, digital downloads are now the primary way to access new releases. Fortunately, upgrading your console with an M.2 NVMe SSD is straightforward, affordable, and won’t void your warranty when done correctly.
Here are seven practical tips to guide you through the PlayStation 5 SSD installation process and ensure success.
1. Prepare Your Console Properly Before You Start
Before touching any internal components, disconnect the HDMI cable, power cable, and stand from your PlayStation 5. Place the console horizontally on a clean, flat surface to prevent accidental damage during the upgrade. Use an anti-static mat or a simple piece of cardboard beneath it for protection. Avoid soft fabrics like towels or microfiber cloths, which can generate static electricity that damages sensitive electronics.
2. Discharge Static Electricity From Your Body
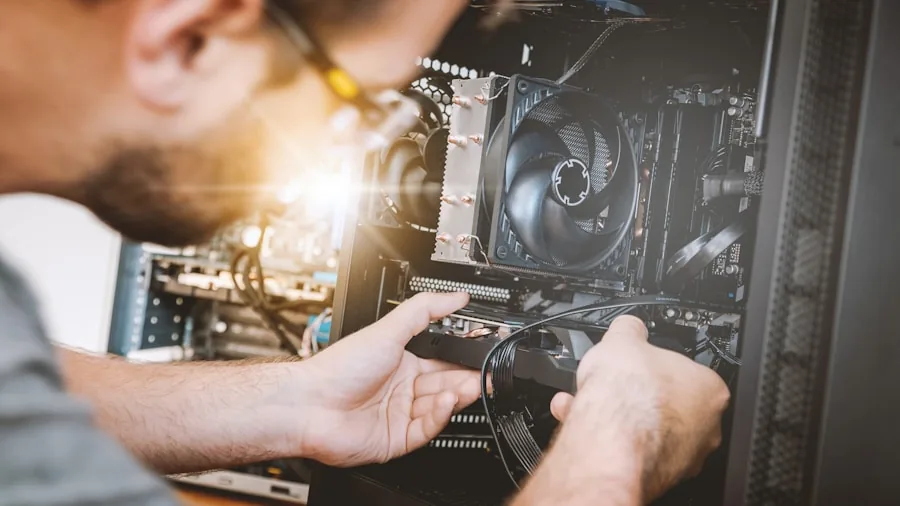
Static electricity is the silent enemy of electronics. Before opening your console, touch a grounded metal object to safely discharge any static buildup from your hands and body. This simple step takes seconds but protects your investment from invisible damage. Treat this as a non-negotiable part of your preparation routine.
3. Know the Correct Way to Open Your Console
Position your PlayStation 5 so the rear ports face you and the PlayStation logo points downward. For the standard PS5, locate the right-bottom corner of the top cover, hold the console firmly with one hand, and gently lift the cover upward while sliding it left. For the PS5 Slim or PS5 Pro models, grip the smaller cover’s top edge and pull upward until you hear a click, signaling the internal clips have released. Take your time with this step, as rushing can crack the cover.
4. Choose the Right SSD With a Compatible Heatsink
Your drive must meet Sony’s specifications: a PCIe 4.0 M.2 NVMe SSD with at least 5,500 MB/s sequential read speed. The console supports multiple form factors, including 2230, 2242, 2260, 2280, and 22110. Many quality SSDs now come with PlayStation 5-compliant heatsinks already installed, which simplifies the process. If your drive lacks a heatsink, purchase an aftermarket one separately, ensuring it doesn’t exceed Sony’s maximum thickness of 0.44 inches (11.25 mm) including the heatsink. The best portable SSDs for every workflow and budget often feature information about thickness specifications that translate well to console compatibility.
5. Install the SSD at the Correct Angle
Angle matters during installation. Align the notches on your SSD with the slot in the M.2 connector, then tilt the drive at a 30-degree angle as you insert it gently into the expansion slot. Once the SSD seats fully, press down with your thumb until it’s secure. Fasten the screw that holds it in place, but avoid over-tightening, which can damage the drive or the expansion slot. Treat the installation as a precision task rather than a strength test.
6. Reposition the Spacer to Match Your Drive’s Length
The spacer inside the expansion slot must align with your specific SSD’s form factor. Remove the screw and spacer from the slot, check your drive’s dimensions, and relocate the spacer to the correct position. This ensures your drive sits flush and maintains proper contact with the connector. Skipping this step can result in connection issues or an improperly seated drive.
7. Format the SSD When the Console Automatically Detects It
Once your hardware installation is complete, reconnect all cables and power on your PlayStation 5. The console will automatically detect your new SSD and prompt you to format it before use. Follow the on-screen instructions to complete the formatting process. After this final step, your console will recognize the expanded storage, and you can immediately begin installing games without worrying about capacity limits again.
Installing an SSD upgrades your PlayStation 5 experience by eliminating the constant frustration of deleting games to make room for new releases. With these seven tips, you’ll complete the upgrade confidently and securely, restoring your console to full functionality with significantly more storage for all your gaming library. The best gaming headsets for Warzone and other competitive titles pair perfectly with a freshly upgraded console, letting you maximize your entire gaming setup.
About the author
Serenity covers home game consoles for REMOVU, weighing performance, exclusive libraries, and the ecosystem each platform locks you into. She helps players pick the console that fits how and what they play.