How to Fix Your USB Drive Not Showing Up on Windows 10 and Windows 11
Your USB drive isn't showing up? Follow these step-by-step fixes to get it working again.
 By Ava Herrera
Updated November 6, 2026
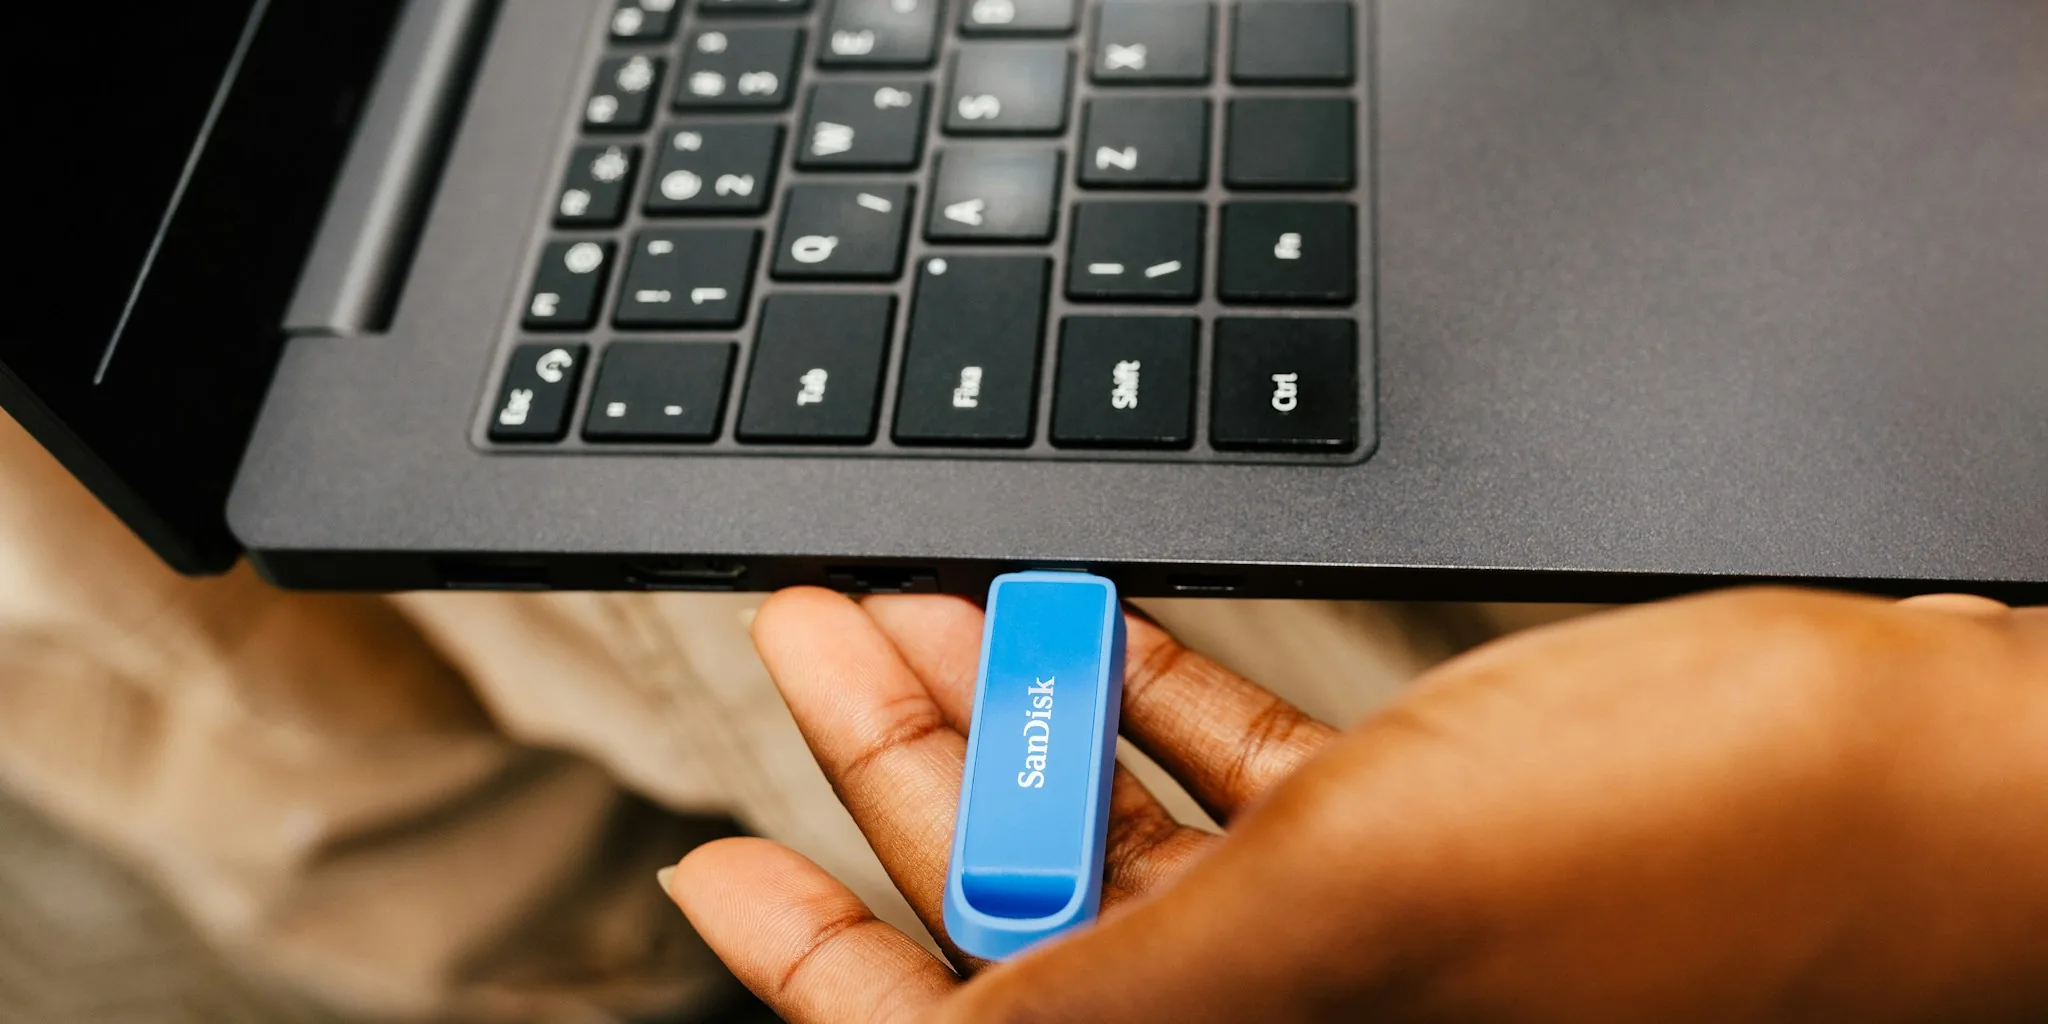
A USB drive that won’t appear in File Explorer can be frustrating, but the issue is usually fixable without losing your data. Before you panic or replace the drive, work through these practical steps in order to identify and resolve the problem.
Start With the Basics
Before troubleshooting Windows settings, address the physical connection first. Unplug your USB drive and plug it into a different port on your computer, preferably a USB 2.0 port on the back of a desktop tower rather than the front. USB 3.0 ports sometimes struggle with older controllers, and ports on the front of towers are often less reliable.
Never use a USB hub, as hubs frequently fail to supply enough power to external drives. Connect your drive directly to a port on your computer itself. While the drive is unplugged, use a cotton swab dampened with 90% isopropyl alcohol to gently clean the connector, removing any oxidation that might prevent proper contact.
Next, plug the USB drive into another computer and check whether it appears there. If it doesn’t show up on multiple machines, even in Disk Management, the hardware itself may be dead and likely needs professional recovery if it contains important files.
Check Disk Management

If your drive isn’t visible in File Explorer, it might still appear in Disk Management. Right-click your Start button and select Disk Management. Look through the list of disks for an external drive matching your USB drive’s storage capacity. You may see it labeled as Removable, though this isn’t always the case.
Finding your drive here is a good sign: it means Windows recognizes the hardware but has a software issue preventing it from showing in File Explorer. The solution depends on what you see in Disk Management, so keep this window open as you proceed through the fixes below.
Power Settings Are Often the Culprit
Windows aggressively powers down USB ports to conserve energy, which frequently triggers recognition errors. Disable this behavior by opening Device Manager: press Win + X and select Device Manager. Expand Universal Serial Bus controllers and locate each USB Root Hub entry.
Right-click each USB Root Hub and select Properties. Navigate to the Power Management tab and uncheck the box labeled Allow the computer to turn off this device to save power. Click OK and restart your computer.
While in Device Manager, also check the Advanced tab in Power Options through the Control Panel and ensure USB Selective Suspend is disabled. This forces Windows to keep the USB bus active continuously.
Run Diagnostic and Repair Tools
If your drive still doesn’t appear after checking the basics and adjusting power settings, Windows system files or driver conflicts may be blocking communication. Start by running the Hardware Troubleshooter: press Win + R, type msdt.exe -id DeviceDiagnostic, and press Enter. Follow the on-screen prompts to let Windows scan for USB controller errors.
Next, verify system file integrity. Open Command Prompt as Administrator and run sfc /scannow. Wait for the scan to complete. If Windows finds and repairs corrupted files, restart your PC.
If the problem persists, run the Deployment Image Servicing and Management tool by entering DISM /Online /Cleanup-Image /RestoreHealth in Administrator Command Prompt. Once complete, return to Device Manager. Expand Disk Drives and Universal Serial Bus controllers. Right-click any device with a yellow exclamation mark and select Uninstall device. Don’t worry about the warning: Windows will automatically reinstall the correct drivers on reboot, giving your USB controller a fresh start.
Solve File System Incompatibility Issues
If Windows recognizes your drive but asks you to format it, the drive may use a file system that Windows doesn’t support natively, such as APFS from a Mac or ext4 from a Linux machine. Before formatting and losing all data, connect the drive to the original computer it was formatted on and copy your files elsewhere. Alternatively, use third-party software that reads Mac-formatted or Linux file systems in Windows. After backing up your data, you can agree to Windows formatting the drive, which will make it compatible with Windows systems.
Fix Missing Drive Letters
If your drive appears in Disk Management with visible partitions but doesn’t show in File Explorer, it may lack an assigned drive letter. Right-click the partition in Disk Management and select Change Drive Letter and Paths. Click Add and choose a drive letter. Your drive should then appear in File Explorer.
If Disk Management shows unallocated space with a black bar, the drive is unformatted. Right-click the unallocated space and select New Simple Volume. Choose the maximum possible partition size and assign a drive letter. For compatibility across different devices and operating systems, format the drive as exFAT. For Windows-only use, NTFS works fine.
Resolve Complex Partition Issues
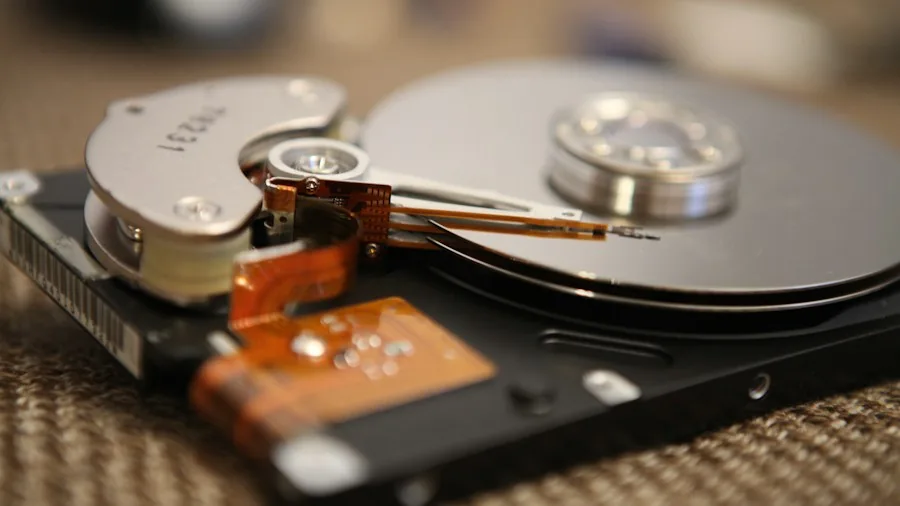
Drives with messy partition schemes, protected partitions, or excessive reserved space may not cooperate with standard Disk Management fixes. Back up any important files first, then open Command Prompt as Administrator and use the diskpart utility to clean the drive completely. This wipes all data and partition information, allowing you to start fresh.
When It’s Time to Move On
If your drive fails to appear on multiple computers and doesn’t show up even in Disk Management, the hardware is likely beyond repair. Physical or electrical damage can render a drive unusable, and no amount of Windows troubleshooting will restore it. Professional data recovery is possible but expensive. In most cases, replacing the drive is the practical choice since flash storage remains affordable and reliable. Quality external storage devices paired with proper backup habits prevent these frustrations going forward.
About the author
Ava is REMOVU's laptop writer, balancing speed, battery life, and build quality against price across the whole range. She helps readers find the sweet spot as each new chip shifts what a dollar buys.