5 Google Photos Settings You Need to Adjust to Stop Screenshots from Draining Your Storage
Your cloud storage is disappearing because of screenshots. Here's how to stop them automatically and reclaim space.
 By Ava Herrera
Updated October 14, 2026
By Ava Herrera
Updated October 14, 2026
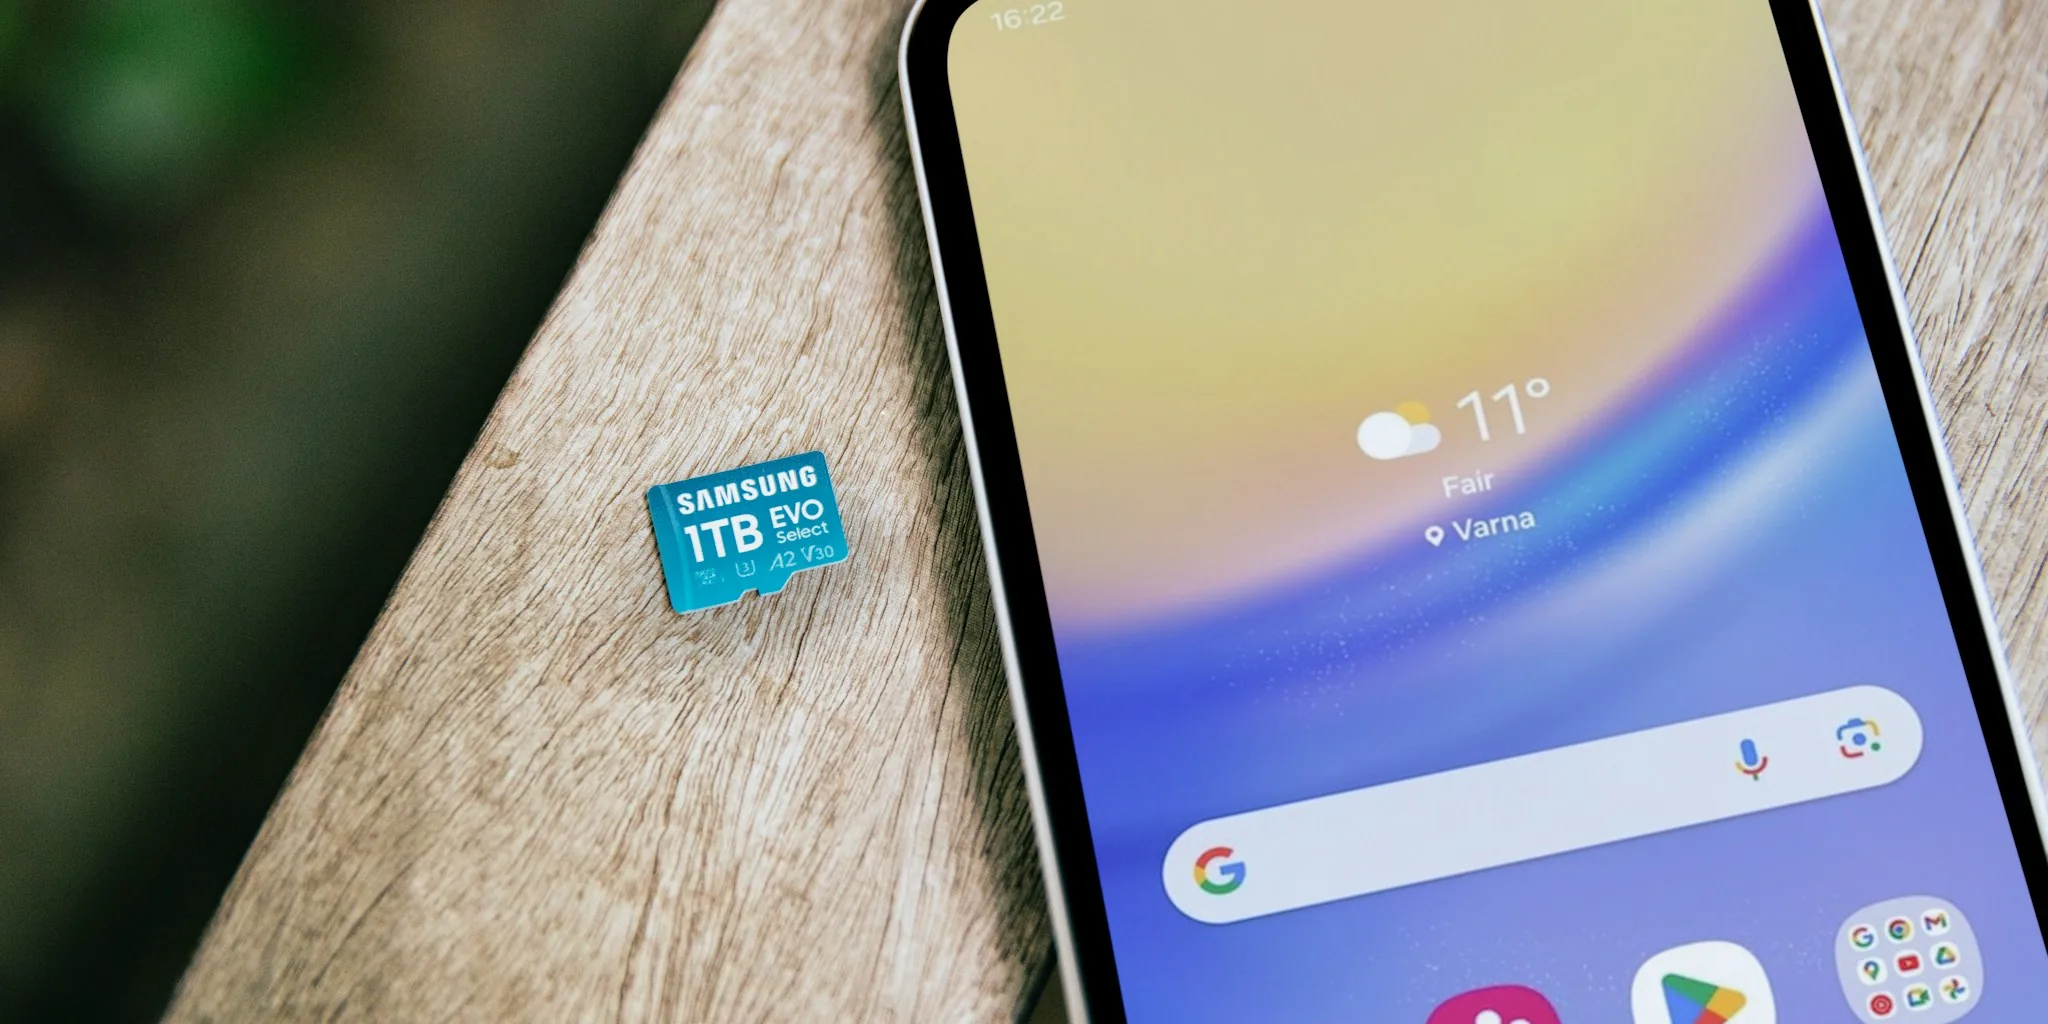
Your cloud storage is disappearing faster than you’d expect, and your actual photos probably aren’t the culprit. Screenshots, confirmation codes, shipping labels, and quick reference images pile up silently in the background, consuming the same storage quota you share with Gmail and Google Drive. Each screen capture takes up real storage space, yet most become useless within hours. The good news is that a handful of settings adjustments can reclaim gigabytes of wasted space.
Disable Automatic Screenshot Backup in Google Photos
Your first step should be examining what Google Photos is backing up automatically. Open Google Photos, tap your profile picture, and navigate to Photos settings. Select Backup, then choose Default Backup under Backup options. Tap Device folders, and you’ll see Screenshots already checked by default. Deselect this option and tap Save and back up at the bottom. This prevents future screenshots from uploading, but existing cloud backups won’t vanish automatically. Search “screenshots” within Google Photos to find what’s already stored, select items you no longer need, and delete them. Remember to empty the trash afterward, because Google keeps deleted files for 30 days while they continue counting against your storage limit.
Move Screenshots Out of Your Camera Roll Directory
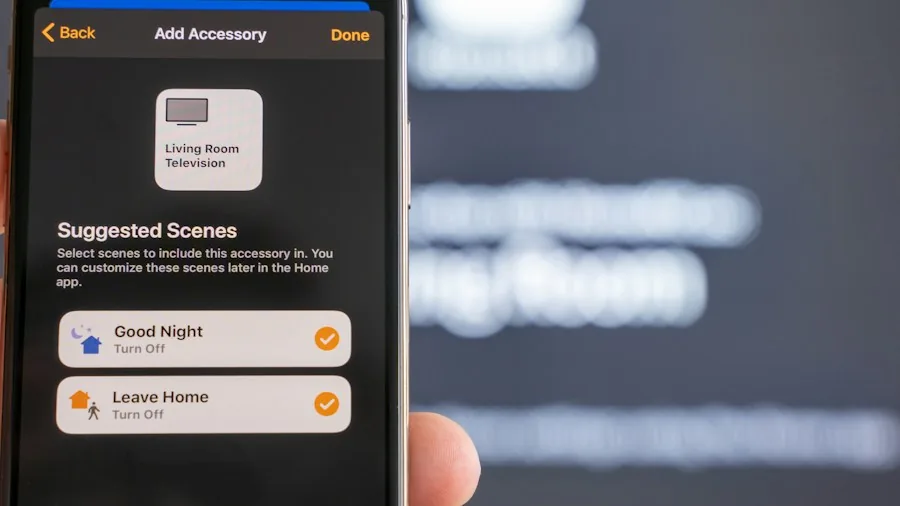
Even after adjusting backup settings, some phones create a hidden problem. Samsung Galaxy devices and many others store screenshots in the DCIM folder by default, the same location where camera photos are saved. Google Photos treats everything in DCIM as part of your camera roll, which means screenshots can still get swept into cloud backups alongside your actual photos. To fix this, open your phone’s Settings app and navigate to Advanced features. Tap Screenshots and screen recordings, then locate the “Save screenshots in” option. Change this from the DCIM directory to any other folder outside that location. This simple change stops Google Photos from treating screen grabs as camera images going forward. Just verify afterward that your new screenshot folder isn’t selected in Google Photos’ device folders list, since enabling “Back up all device folders” might automatically sync your new location.
Turn Off Cellular Data Photo Backups
Google Photos uploads screenshots instantly when cellular backup is enabled, giving you no opportunity to review and delete unnecessary captures before they reach the cloud. Disabling this setting forces uploads to wait until you connect to Wi-Fi, buying you time to clean up throwaway files before they consume cloud space. Open Google Photos settings, go to Backup, then find Preferences. Tap Mobile data usage and set the Daily data limit to No data. Throughout your day, screenshots remain on your phone. By the time you arrive home or at the office and connect to Wi-Fi, you’ve already decided which images matter and which ones can be deleted permanently. This delay transforms your behavior, because reviewing content before upload makes cleanup automatic.
Switch to Storage Saver Quality for Compressed Uploads

Screenshots and other screen captures upload at full resolution by default, which wastes enormous amounts of cloud space. No one prints shipping confirmations or Wi-Fi passwords, yet each screenshot occupies the same storage as a high-quality photo you might want to enlarge or edit. Switching to Storage Saver mode compresses photos to 16 megapixels and limits videos to high definition quality. This setting applies to everything you back up, but the savings are most dramatic with screenshots since they’re flat text and interface elements that lose nothing when compressed. Access Google Photos Backup settings, tap Photos and videos quality, and select Storage saver. Every future backup gets compressed automatically. For files already uploaded at original quality, Google provides a conversion feature that recompresses existing uploads without removing them from your library.
Audit Your Storage Using the Manage Storage Feature
Once you’ve adjusted these four core settings, head to Google Photos’ Manage storage section to address the backlog. This tool groups blurry photos, screenshots, and large videos together, making it easy to identify what’s consuming the most space. Creating content that requires high-quality backups makes storage management even more critical. Your 15-gigabyte limit is shared across Gmail, Drive, and Photos combined, so freeing space here increases your available quota everywhere else. Delete unwanted screenshots in bulk, and watch your available storage jump back up. This unified approach means you’re not manually sorting through thousands of images to find problematic captures. The system handles the heavy lifting for you, presenting the biggest storage culprits first so you can make informed decisions quickly.
About the author
Ava is REMOVU's laptop writer, balancing speed, battery life, and build quality against price across the whole range. She helps readers find the sweet spot as each new chip shifts what a dollar buys.