How to Fix Noise Canceling Headphone Crackling and Popping Sounds
Annoying pops and crackling aren't hardware failure. Here's the surprisingly simple fix.
 By Nevaeh Ross
Updated September 25, 2026
By Nevaeh Ross
Updated September 25, 2026

Why Your Expensive Headphones Sound Broken
You’re walking down the street enjoying your favorite podcast when suddenly a sharp pop or crackling sound pierces through your audio. It happens every time you step off a curb or hit a bump. Before you assume your premium noise canceling headphones are failing, understand what’s actually going on inside them.
Active Noise Cancellation works through a sophisticated system of external microphones that detect incoming sounds and generate opposite sound waves to neutralize them. These tiny microphones are positioned on the outside of your ear cups or earbud stems, and they’re incredibly sensitive by design. That sensitivity is exactly what makes them prone to picking up unwanted interference when dust and debris accumulate over time.
Understanding the Root Cause of the Problem
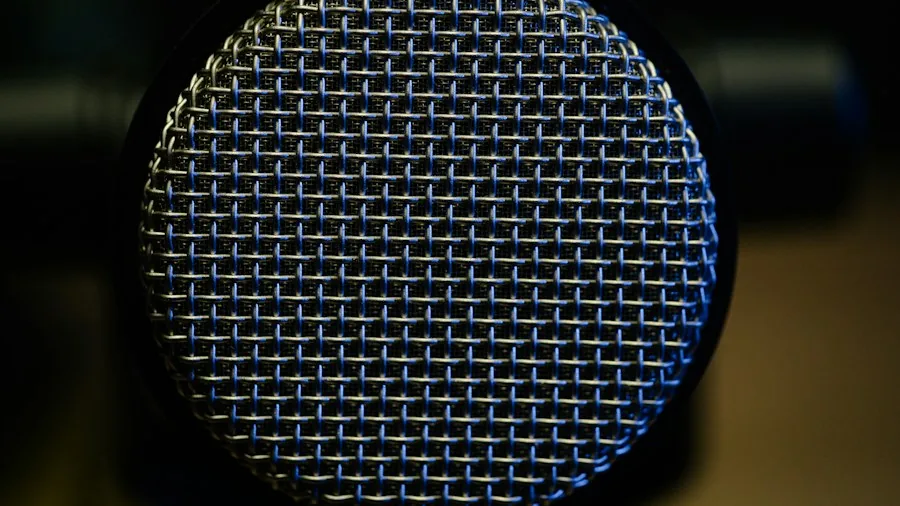
When you walk, bounce, or encounter sudden wind gusts, air rushes toward those external microphone grilles. Normally, the noise cancellation software handles these air movements without issue. However, microscopic particles of dust, pocket lint, and skin oils gradually build up on the mesh protection covering those microphones.
Once that buildup reaches a certain point, air friction becomes uneven across the blocked grilles. Instead of detecting normal background noise, the microphones pick up localized air turbulence directly vibrating against the housing. The software then scrambles to cancel out a noise that doesn’t exist in your environment, and that mismatch creates the irritating thump, pop, or flutter sound you hear. It’s not a hardware failure, it’s a cleaning issue.
The Simple Cleaning Solution
The fix requires only basic household items and about 10 minutes of your time. Start by locating every external mesh grille and pinhole port on your headphones or earbuds. These are typically found on the outer surfaces of both ear cups or along the stems of earbuds.
Take a soft-bristled toothbrush or electronics cleaning brush and gently sweep across each grille at an angle. This sweeping motion removes loose particles without forcing debris deeper into the ports. Never push straight down, as that risks compacting lint further inside where it becomes harder to remove.
Removing Stubborn Buildup
After the dry brush pass, you’ll want to tackle the oily residue that’s bonded to the mesh. Apply a minimal amount of micellar water to a cotton swab, as this solution breaks down skin oils without leaving sticky film behind. Electronics-grade rubbing alcohol at 70% isopropyl concentration works equally well, or you can use a tightly wrung-out wet wipe if you prefer.
The key here is ensuring your swab or wipe is barely damp, never dripping. Excess moisture can damage internal components, so err on the side of dryness. Gently roll the swab over the mesh openings to lift any stubborn residue that the brush didn’t catch. If you’re using wireless earbuds worth investing in for calls or media consumption, take extra care with each micro-port.
Post-Cleaning Care and Prevention
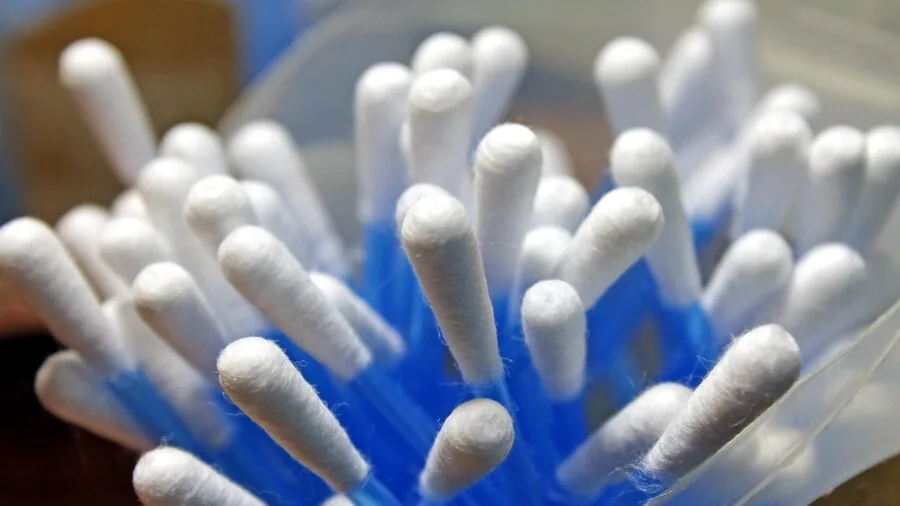
Once you’ve cleaned all the external ports, allow your headphones to air dry for approximately 5 to 10 minutes before putting them back on. This drying period ensures any residual moisture evaporates completely and prevents any potential short circuits. After this brief wait, turn on your noise cancellation and you should notice the difference immediately.
To prevent this problem from recurring, establish a routine cleaning schedule. Wipe down the external surfaces of your headphones weekly using a dry microfiber cloth. A quick monthly deep clean using the method described above will keep those microphone grilles clear of buildup. If you store your headphones in a pocket or bag, you’re more likely to accumulate lint, so consider using a protective case instead.
When to Seek Professional Help
If crackling persists after thorough cleaning, the issue may be internal hardware damage rather than external buildup. In that case, contact the manufacturer’s support team or visit an authorized service center. However, nine times out of ten, the solution really is this straightforward, and understanding how audio equipment maintains its integrity means recognizing that external cleanliness directly impacts performance.
Your noise canceling headphones are worth the effort to maintain properly. The technology inside them is sophisticated, but the upkeep is simple. A few minutes with a brush and a cotton swab can restore your audio experience to its original quality, saving you money on repairs or replacements and keeping your daily listening experience uninterrupted.
About the author
Nevaeh is REMOVU's over-ear headphone writer, judging sound, comfort, and value across wireless and wired models. She helps readers find a spacious, long-wear pair for home or travel.