7 Ways to Free Up Storage on Your Jellyfin Server Without Losing Content
Free up massive storage space without deleting movies with these smart server optimization techniques.
 By Jim Harvey
Updated October 11, 2026
By Jim Harvey
Updated October 11, 2026
Running a personal media server gives you complete control over your entertainment library, but storage quickly becomes a bottleneck. When your Jellyfin server reaches capacity, adding new hard drives has become prohibitively expensive for many users. Fortunately, you have several practical strategies to reclaim gigabytes or even terabytes of space without deleting a single movie or show.
Convert Video Files to Modern Codecs
Your existing video collection likely contains files encoded with older standards like H.264, which consume far more space than necessary. Upgrading to newer compression technologies such as HEVC (H.265) or AV1 can dramatically reduce file sizes while maintaining visual quality. A typical conversion can shrink H.264 files by 30 to 50 percent, meaning 2TB of content could feasibly shrink to 1TB after conversion.
The trade-off involves processing time. Converting your entire library takes hours or even days depending on your server hardware. Additionally, each re-encoding session results in minor quality loss. Before committing to a full library conversion, encode one or two files and evaluate them across your viewing devices, phone, TV, and PC to ensure the quality remains acceptable for your needs.
AV1 offers superior compression but requires caution since not all playback devices support it yet. If your devices lack native AV1 support, your server will need to transcode more frequently, which increases CPU load. Automated tools like Tdarr can handle bulk conversions once you’ve confirmed the process works for your setup.
Remove Unnecessary Audio Tracks and Versions
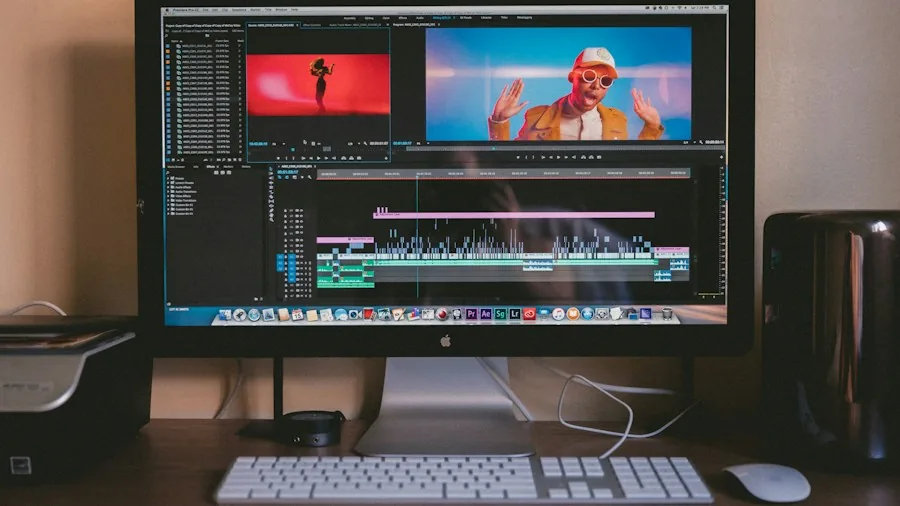
While video consumes the most storage, audio tracks represent a hidden space hog that many users overlook. Remuxed files often include multiple audio versions: lossless surround sound tracks can individually consume 1GB to 5GB, and files frequently contain multiple language dubs plus director commentary. Combined, audio can account for up to 10 percent of your total storage requirements.
The solution is straightforward: keep one high-quality audio track per language you actually watch and eliminate the rest. Removing audio tracks differs from re-encoding because the video stream remains untouched, so this process preserves video quality entirely. You can use Tdarr or ffmpeg to automate this cleanup across your entire library, potentially freeing hundreds of gigabytes without any noticeable impact on your viewing experience.
Optimize Jellyfin’s Cache and Metadata Storage
Jellyfin generates substantial temporary data during normal operation. Trickplay creates thumbnail previews visible when you scrub through timelines, the transcoding engine leaves behind temporary files, and various other operational data accumulates over time. Checking your cache and configuration folders often reveals surprising amounts of wasted space.
You can reclaim this space by adjusting Trickplay settings: reduce preview image resolutions, decrease the frequency of preview generation, or disable Trickplay entirely if you don’t use the scrubbing feature. If your server experienced unexpected crashes or restarts, the transcode cache may contain corrupted data that can be safely deleted without affecting your library.
Clean Up Server Junk and Abandoned Files

Media servers accumulate debris over time just like any computer. Old download fragments, unpacked files, test content, and leftover installation files consume space invisibly. If you use management applications like Radarr, Sonarr, or Lidarr, their recycle bins may contain substantial deleted content.
Use disk analysis tools to locate and remove this clutter. On Linux systems, NCurses Disk Usage (ncdu) provides an intuitive interface for identifying space waste. Windows users should consider WizTree for quick visualization of what’s consuming storage. Pay special attention to download fragments created when file transfers fail, as these can individually reach tens of gigabytes.
Beyond system clutter, evaluate your media extras folder. Behind-the-scenes footage, director’s commentary, and b-roll often sit unwatched. If you’re confident you’ll never view certain extras, removing them frees meaningful space without losing your primary content collection.
Prioritize Your Storage Recovery Strategy
Not all space-saving methods deliver equal results. Audio track removal and video re-encoding produce the most dramatic storage improvements. Starting with audio cleanup makes sense because users rarely notice quality differences, yet the process can liberate hundreds of gigabytes. Video re-encoding offers even greater potential savings but requires more planning and processing time.
Before implementing any changes, back up critical content. Test your chosen codec conversion and audio stripping on a small sample before committing your entire library. This methodical approach ensures you achieve maximum storage recovery while maintaining the viewing quality and device compatibility you expect from your personal media server.
About the author
Jim covers internal hard drives for REMOVU, comparing capacity, reliability, and value for mass storage and NAS builds. He helps readers store more for less without sacrificing dependability.