7 Tips to Organize Your Windows Desktop and Boost Productivity
Reclaim your screen space and boost productivity with these simple Windows 11 organization strategies.
 By Ava Herrera
Updated November 19, 2026
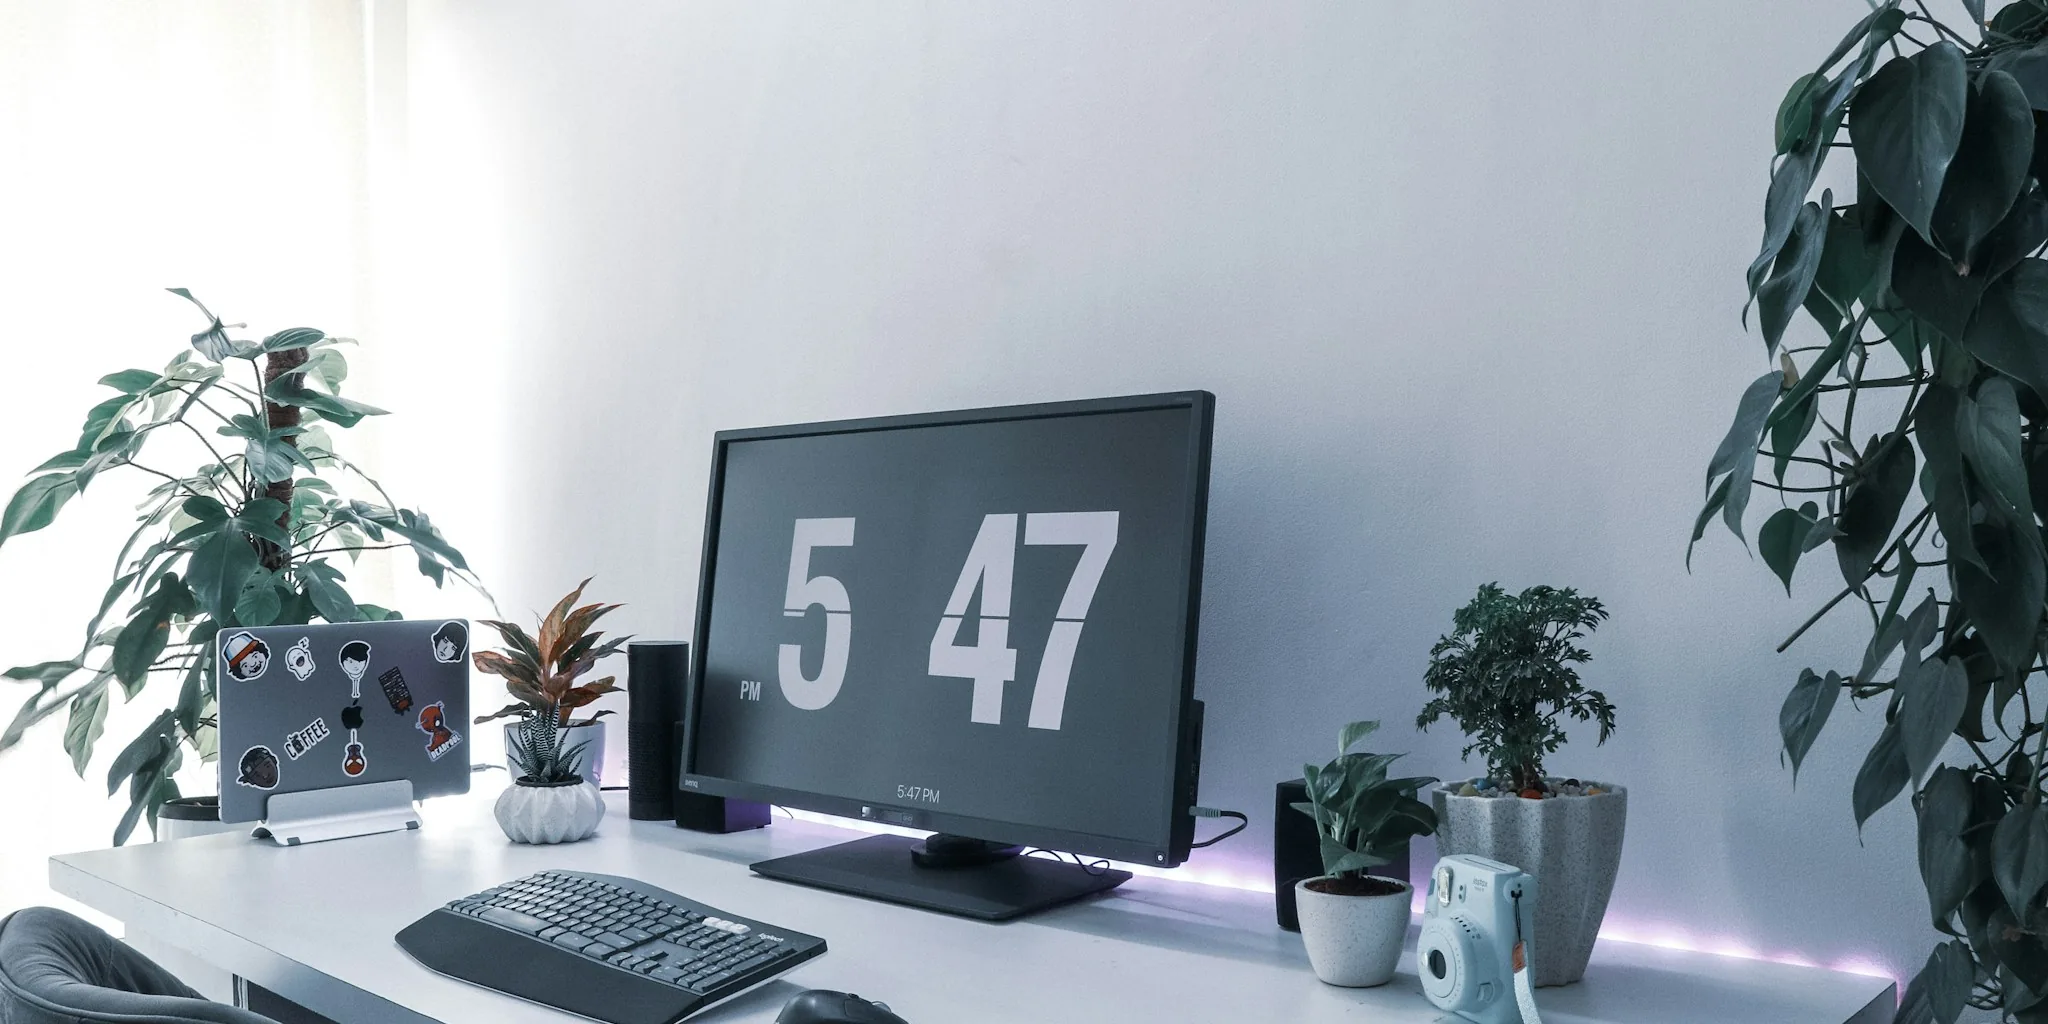
A cluttered Windows desktop is a productivity killer. Too many browser tabs, overlapping document windows, and lost files buried under other windows can waste hours of your day. The good news is that Windows 11 includes powerful built-in tools to help you regain control without installing extra software or apps.
These straightforward strategies take just minutes to implement and can transform how you work. Here’s how to get your workspace under control and stay productive.
1. Use Snap Layouts to Arrange Windows Automatically
Manually dragging and resizing windows every time you want to view two applications side by side is inefficient. Instead, use Windows 11’s Snap Layouts feature to arrange windows instantly.
Open an application and press Windows + Z. A menu of layout options will appear on your screen. Select the arrangement you prefer, then choose which other open apps should fill the remaining spaces. Your windows will snap into place perfectly aligned without any manual resizing.
The two-column layout where one app occupies two-thirds of the screen and another takes one-third is especially valuable. This setup works perfectly for writing in a word processor while keeping research material visible in a browser, or analyzing data in a spreadsheet while referencing a PDF document. Windows automatically groups snapped applications together in the taskbar and Alt + Tab menu, making it simple to return to your organized layout after switching to other work.
2. Create Virtual Desktops for Different Projects

Virtual desktops extend the organization concept beyond a single screen by letting you maintain completely separate workspaces for different tasks. You can dedicate one desktop to communication tools like email and chat, while reserving another for focused work on documents and research.
Press Windows + Ctrl + D to create a new virtual desktop. Switch between desktops instantly using Windows + Ctrl + Left Arrow or Right Arrow. Press Windows + Tab to view all your desktops at once, rename them, and move windows between them. Each desktop can have its own background wallpaper, making it easier to visually distinguish between your different workspaces at a glance.
To keep your separated workspaces truly isolated, navigate to Settings, then System, then Multitasking, then Desktops. Enable the option to show only open windows from your current desktop in the taskbar and Alt + Tab switcher. This prevents all your windows from jumbling together in one crowded menu. Many professionals use virtual desktops daily and find the organization dramatically improves their ability to focus on specific projects without distractions.
3. Customize Your Taskbar Position for Better Screen Space
Windows 11 finally restored the ability to move your taskbar, a feature users had requested for years. You can now position the taskbar at the top, bottom, left, or right edge of your monitor. On widescreen displays, moving the taskbar to the side is particularly beneficial since most websites and documents scroll vertically, leaving plenty of unused horizontal space.
Right-click any empty section of the taskbar and select Taskbar settings. Expand the Taskbar behaviors section and adjust the taskbar position setting. You can also shrink the taskbar size, which is especially useful on laptop screens where every pixel of workspace matters.
4. Show Individual Window Labels Instead of Grouped Icons
By default, Windows combines multiple windows of the same application under a single taskbar icon. This makes it difficult to identify which document or file you need. Change this behavior by right-clicking the taskbar, selecting Taskbar settings, and finding the Combine taskbar buttons option. Set it to Never instead of Always.
Now each open window displays as a separate labeled button on your taskbar. If you have three Word documents open, you’ll see three distinct buttons instead of one anonymous icon. When paired with virtual desktops, this approach keeps your most-used applications visible and immediately accessible. Quality audio peripherals can further enhance your focused work time during important tasks.
5. Remove Unused Applications from Your Taskbar
Your taskbar represents prime real estate on your screen. Don’t waste valuable space on applications you haven’t opened in months. Audit your pinned taskbar icons and remove any apps you don’t use regularly.
Right-click any taskbar icon you want to remove and select Unpin from taskbar. This action doesn’t delete the application, just removes the shortcut from your taskbar. Reserve your pinned slots for the tools and applications you rely on daily, ensuring quick access to what actually matters for your work.
6. Combine Snap Layouts with Virtual Desktops for Maximum Organization

The real power emerges when you combine these techniques together. Even your personal devices can support productivity when your workspace is properly organized. Use virtual desktops to separate different projects, then employ Snap Layouts within each desktop to arrange multiple applications. This layered approach creates a comprehensive organizational system that scales to however many simultaneous projects you’re managing.
7. Set a Regular Cleanup Schedule
Even with these tools in place, your workspace can gradually become disorganized again. Set a weekly reminder to review your open windows and close completed projects. Remove applications from your virtual desktops once you’ve finished working on them, and periodically audit which applications you’ve pinned to your taskbar.
Taking five minutes each week to maintain your organization prevents the slow creep back toward chaos. These built-in Windows features work best when you actively manage your workspace rather than allowing it to accumulate indefinitely.
By implementing these strategies, you’ll spend less time hunting for files and windows, and more time actually accomplishing your work. Windows 11 provides the tools necessary to maintain a clean, efficient workspace without expensive software or complicated setup processes.
About the author
Ava is REMOVU's laptop writer, balancing speed, battery life, and build quality against price across the whole range. She helps readers find the sweet spot as each new chip shifts what a dollar buys.