7 Tips to Know About Converting Your Old PC Into a Network Storage System
Transform your aging desktop into a powerful storage hub with these seven practical setup tips.
 By Ava Herrera
Updated November 1, 2026
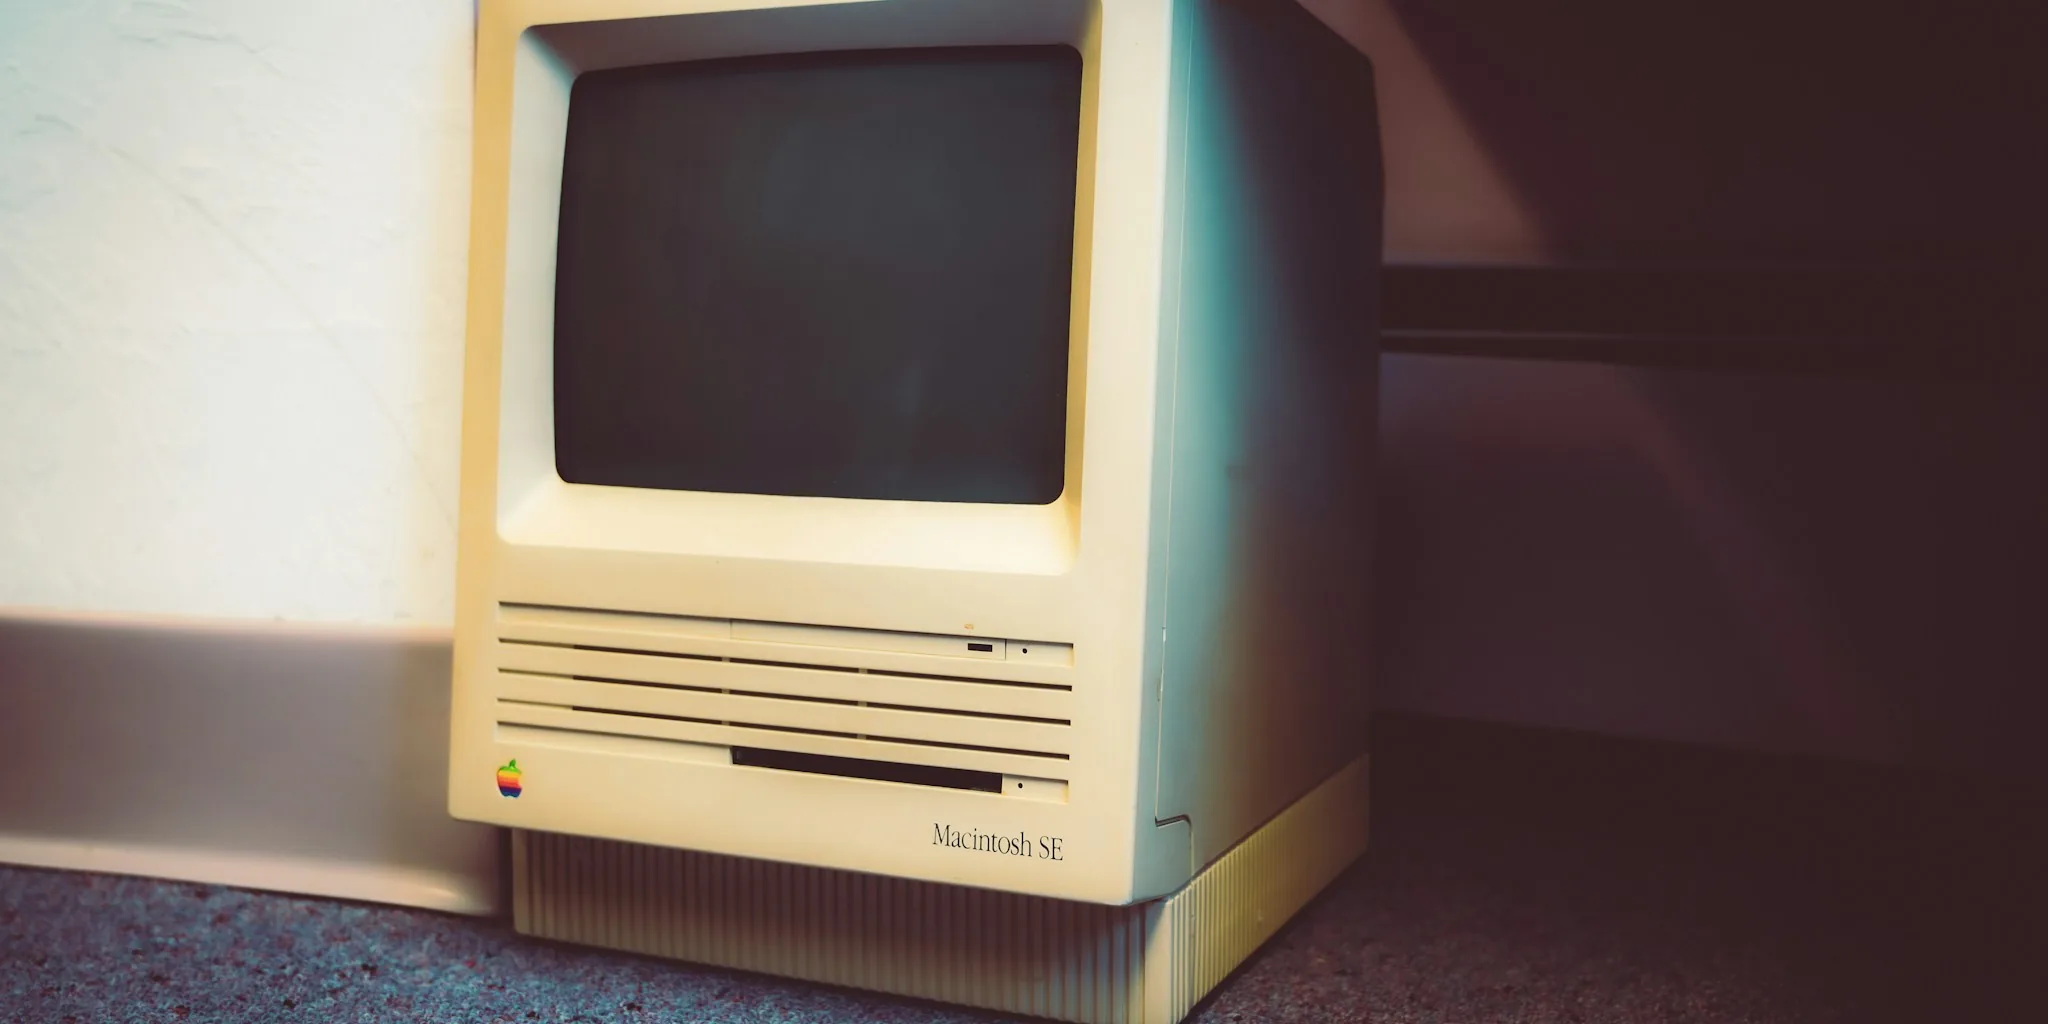
If you have an aging desktop gathering dust in a corner, repurposing it as a network-attached storage (NAS) device offers a smart alternative to purchasing a brand-new unit. With the right approach, your older machine can reliably handle terabytes of data and stream media without any issues. Here are seven essential tips to guide you through the conversion process successfully.
1. Do the Three-Year Cost Comparison Before Starting
The financial case for converting an old PC into a NAS is stronger than most people realize. While dedicated mini-NAS devices typically consume 15 to 20 watts at idle, older desktop computers draw between 40 and 110 watts depending on their components. At an average electricity rate of $0.18 per kilowatt-hour, this difference translates to roughly $30 to $100 in additional annual power costs. Over a three-year period, that surplus reaches $90 to $300, which easily justifies the conversion instead of purchasing a commercial Synology or QNAP unit. Calculate your local electricity rates to confirm the savings make sense for your situation.
2. Recognize That Windows 10 End-of-Life Makes Linux Migration Practical
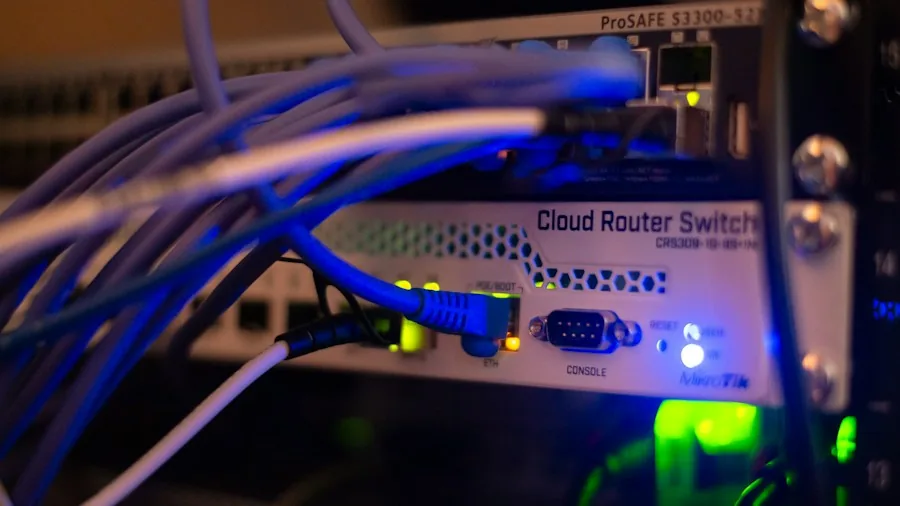
Since Windows 10 reached end-of-support in October 2025, continuing to run it on your repurposed machine creates a security risk. This timing actually works in your favor: migrating to a lightweight Linux-based NAS operating system becomes not just necessary but beneficial. You’ll eliminate unwanted Windows Update reboots and bloatware, and your older hardware will often perform better under a purpose-built Linux distribution than it ever did under a full desktop OS. The transition eliminates ongoing compatibility concerns while simplifying daily operation.
3. Select TrueNAS Community Edition for Robust Data Protection
Among available NAS operating systems, TrueNAS Community Edition stands out as the optimal choice for most users converting older hardware. This Debian-based platform manages containerized applications through Kubernetes, allowing you to run isolated services securely. More importantly, it employs ZFS, a file system that provides block-level corruption detection, automated snapshots, and RAIDZ redundancy capabilities that standard file systems cannot match. While alternatives like OpenMediaVault and Unraid exist, TrueNAS Community Edition delivers superior data integrity assurance without licensing fees, making it ideal for budget-conscious conversions.
4. Invest in Purpose-Built NAS Drives for Long-Term Reliability
Storage drives designed for continuous operation in NAS environments differ significantly from standard desktop drives. Professional-grade NAS drives like the Seagate IronWolf Pro series feature workload ratings of 550 terabytes per year and mean-time-between-failure ratings exceeding one million hours. They include integrated data recovery services spanning three years. To reduce costs, purchase refurbished or recertified units from specialized retailers, potentially saving approximately 50 percent compared to retail pricing. Beyond storage drives, procure a dedicated 64-gigabyte SSD for your operating system boot drive, which you can often find affordably through secondary marketplaces.
5. Upgrade Your Network Interface Card Before Installation
If your motherboard lacks a 2.5-gigabit Ethernet or 10-gigabit network interface card, purchase one immediately. This represents the most affordable hardware upgrade you’ll make and prevents your network connection from becoming a bottleneck limiting storage performance. Additionally, verify that your motherboard uses a reliable SATA controller chipset, specifically avoiding boards with the ASM1166 chip, which is notorious for dropping drives under heavy load. These hardware foundations determine whether your conversion succeeds or encounters frustrating performance issues.
6. Configure Robust Security and Access Controls From Day One
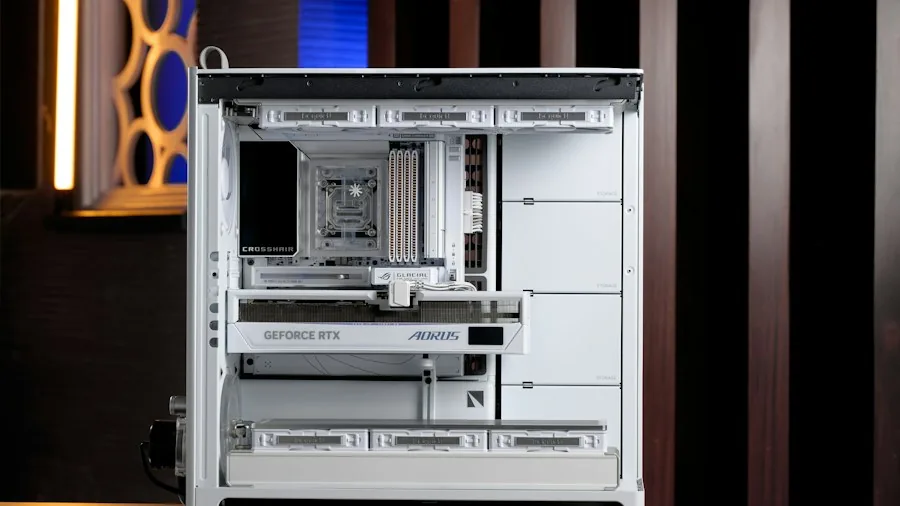
Once your operating system installation completes through the web-based interface, establish strict user accounts and strong administrative credentials immediately. For local file sharing on Windows networks, configure SMB shares that allow native drive mounting without requiring third-party client software. For remote access beyond your home network, implement either a reverse proxy or a WireGuard VPN solution rather than port-forwarding services directly to the internet, which exposes your system to unnecessary security risks. Secure remote connectivity ensures you can manage your storage safely from anywhere without compromising protection.
7. Establish Backup Procedures Separate From Your Primary NAS
Remember that your NAS, despite its storage capacity, is not itself a backup system. Implement automated backup procedures using tools like Duplicati to push encrypted copies of critical files to either a secondary drive or cloud storage separately from your primary NAS. Before canceling any existing cloud subscription services, verify that your backup procedures function correctly and that your data has transferred successfully. This layered approach protects against drive failures, corruption, or other unforeseen issues that could otherwise result in permanent data loss.
With these seven tips in mind, your old PC transforms into a powerful, efficient hub for your digital storage and media needs. The combination of hardware optimization, proper software selection, and thoughtful system architecture delivers a solution that saves money, reduces electronic waste, and grants you complete control over your personal data infrastructure.
About the author
Ava is REMOVU's laptop writer, balancing speed, battery life, and build quality against price across the whole range. She helps readers find the sweet spot as each new chip shifts what a dollar buys.