iPhone Built-in Document Scanning What Shoppers Should Know
Apple's built-in document scanner eliminates the need for paid apps. Here's how to use it.
 By Eleanor Garcia
Updated August 15, 2026
By Eleanor Garcia
Updated August 15, 2026
If you own an iPhone, you likely have everything you need to scan important documents without spending extra money on a third-party app. Apple has embedded powerful scanning capabilities directly into its operating system, making it easy to digitize invoices, receipts, contracts, and other papers for record-keeping or tax preparation.
This shift matters to iPhone owners because it eliminates the need to purchase or maintain subscriptions to document scanning applications. The native tools work seamlessly with your existing iPhone workflow and store files exactly where you want them. Understanding how to use these built-in features can save you money and simplify how you manage paperwork.
Scanning Documents Through the Notes App
The Notes app offers one of the most straightforward paths to scanning documents on your iPhone. If Notes is already your primary storage space for information and files, you can scan invoices directly within the app without switching between multiple programs.
Apple provides two convenient methods. First, you can long-press the Notes app icon on your Home Screen and select Scan Document to launch the scanner immediately. The app automatically detects your document’s edges, but you also have the option to manually capture it by tapping the shutter button yourself.
If the scan does not look right, simply use the Retake button to try again. Once you are satisfied with the quality, you can fine-tune the edges by dragging the corner handles to ensure straight lines and accurate content capture. For multi-page documents, repeat this process for each page you need to scan.
When finished, tap the yellow checkmark button and the app bundles all pages into a single PDF that lands in a new note. If you prefer separate files instead of one combined document, tap the checkmark after each individual scan rather than waiting until the end.
Alternatively, if you want to save a scanned document to a specific existing note, open that note first and tap the paperclip icon in the keyboard toolbar. Select Scan Documents and follow the same scanning steps. Your finished file will go directly into that note rather than creating a new one.
Organizing Scans with the Files App
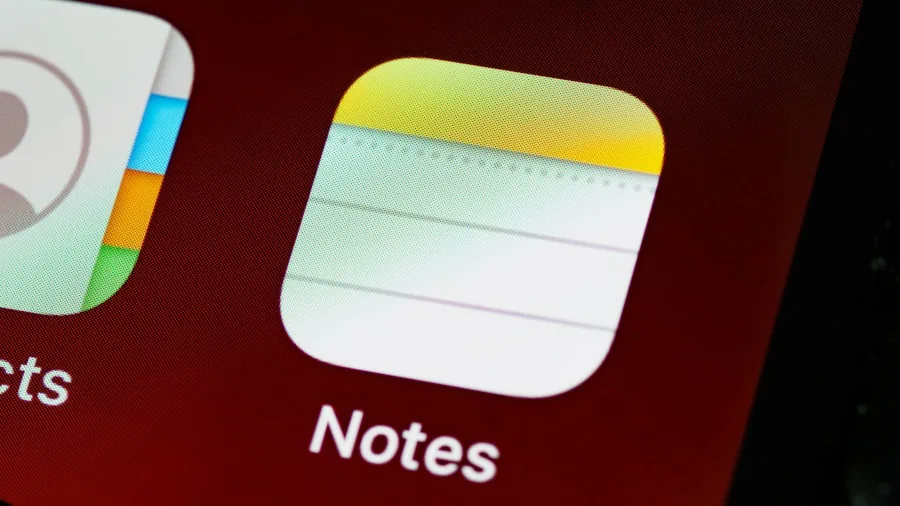
The Files app follows a similar process and may be the better choice if you prefer organizing your scans by folder structure. Long-press the Files app icon on your Home Screen and choose Scan Documents to jump directly into the scanner interface.
The scanning workflow is identical to Notes: capture your page, adjust the corners if needed, and repeat for additional pages. The difference comes when you save. After tapping Save, you need to choose which folder receives your file before confirming the action in the top-right corner.
For faster workflow, if you already know exactly where you want your scan stored, navigate to that specific folder inside Files first. Tap the three-dot menu in the top-right corner and select Scan Documents. Your completed file saves directly into that folder without any additional navigation steps.
Many people prefer the Files approach for invoices and receipts because creating separate folders for each document type keeps everything neatly organized. When tax season arrives or you need to reference a particular payment, you can quickly locate the exact file you need without scrolling through dozens of mixed documents.
What This Means for iPhone Users
The availability of these native scanning tools represents a meaningful shift in smartphone functionality. For years, consumers assumed they needed to download dedicated document management apps, often paying monthly or annual fees for functionality that Apple had already built into the operating system.
By recognizing that your iPhone already contains these capabilities, you gain more control over your data and reduce subscription expenses. Your scans remain within Apple’s ecosystem rather than being stored on third-party servers, which many users appreciate for privacy reasons.
Beyond just scanning, these tools integrate seamlessly with other smartphones features on your device. Your scanned documents can be easily shared via email, Messages, or AirDrop. You can search for text within your scanned PDFs, making it simple to locate specific information even within large documents.
For iPhone users who work with documents frequently, whether for business, personal finance, or household organization, these native options provide legitimate alternatives to paid apps. The scanning quality is comparable to dedicated applications, and the integration with your existing iPhone workflow often makes these tools more convenient to use regularly.
If you have been paying for a document scanning subscription, trying the native options first makes financial sense. Many users discover they can discontinue their paid subscriptions and rely entirely on Apple’s built-in tools without sacrificing functionality or ease of use. Test both the Notes and Files approaches to determine which folder structure and workflow better matches how you organize and access your documents daily.
About the author
Eleanor covers smartphones for REMOVU, balancing cameras, battery life, and software support against price. She helps readers find the best value as the field shifts with every release.